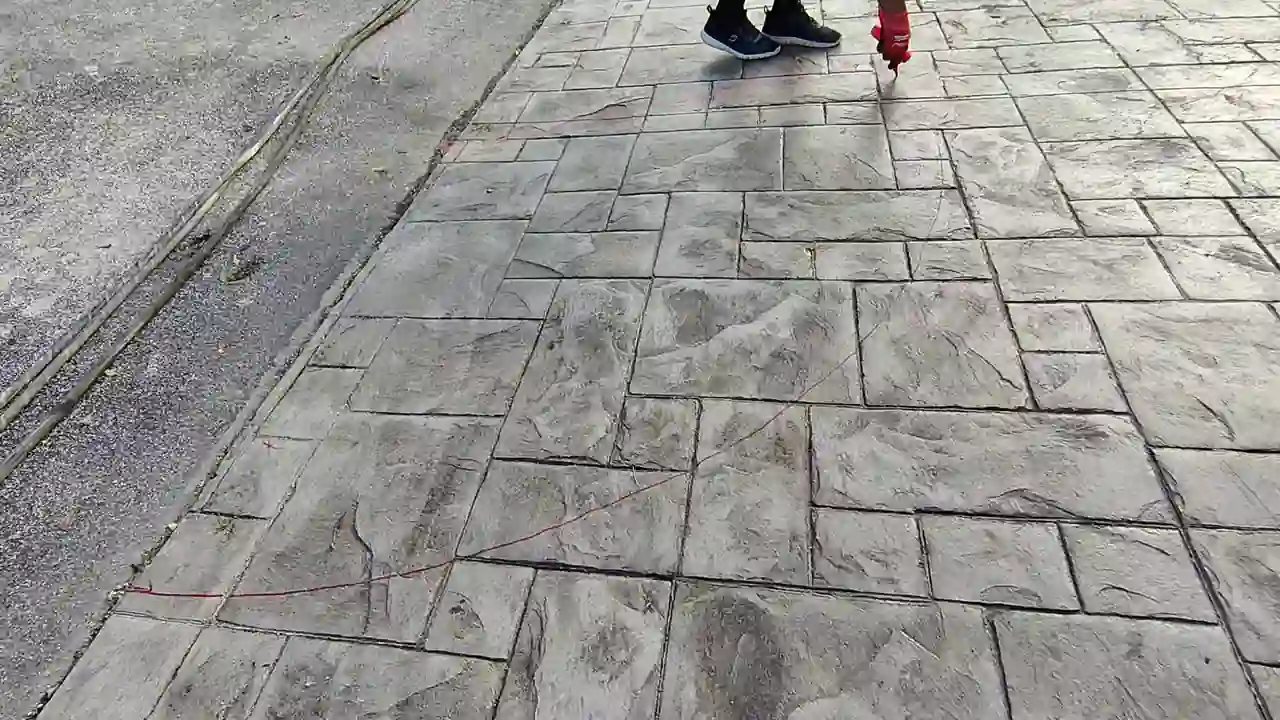
How to Chip Concrete With Control Instead of Brute Force
Learning how to chip concrete is really learning how to remove a controlled amount of material without shattering the slab around it. The instinct is to grab the biggest hammer and go to work, but that is how a small repair turns into a full replacement. Chipping is a finesse job, and the finesse comes from the tool, the technique, and a scoring step most people skip.
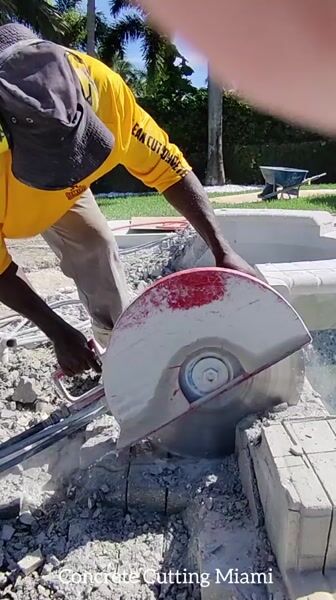
In Miami, chipping concrete is a daily task, whether it is leveling a floor before tile, exposing rebar for a corrosion repair, or removing a spalled section near the coast. Let me walk through the process the way a professional does it.
Pick the Right Tool for the Job
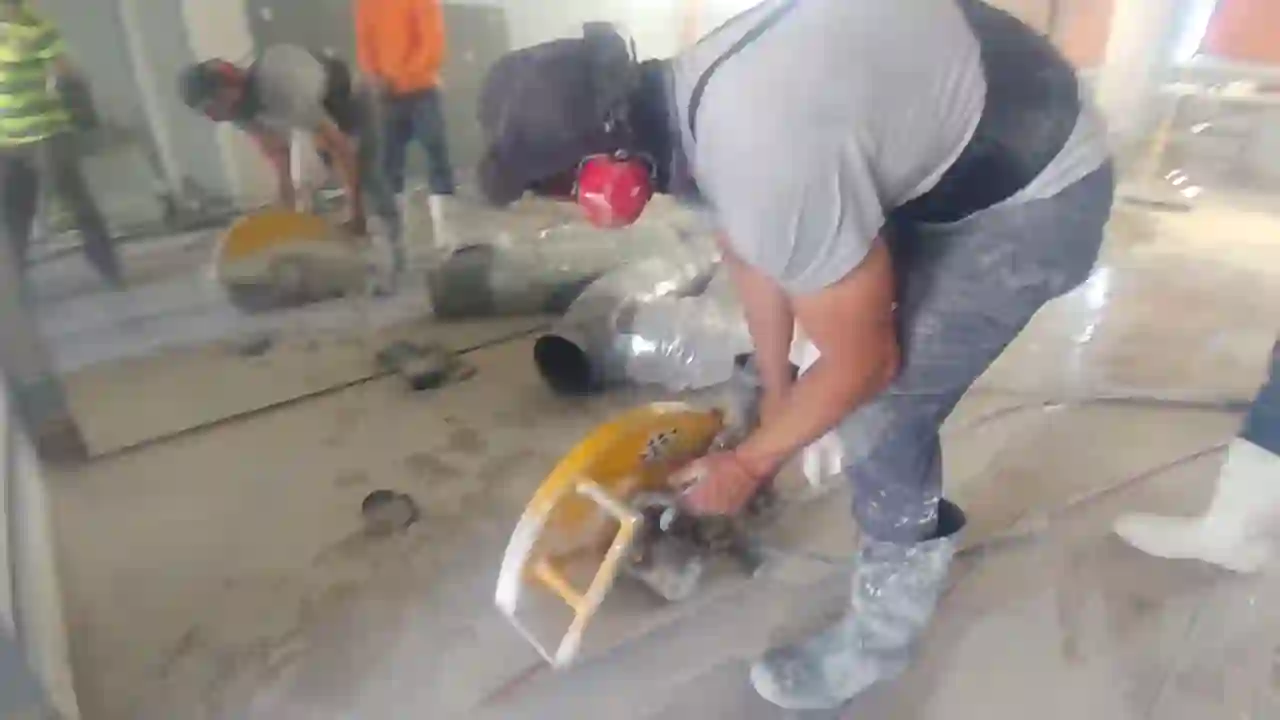
The tool you choose depends on how much concrete you are removing and how precise you need to be. A chipping hammer is the default for controlled work. It delivers a rapid, shallow hammering action that breaks off small pieces, and it is light enough to feather an edge. For a small spall repair or a high spot, it is the right tool.
For larger areas, a heavier jackhammer removes material faster but with less control. For thin, uniform removal across a big floor, a scarifier or grinder is often better than any hammer. The rule is simple: match the tool to the amount of material. Our guide to chipping concrete tools and techniques covers the options in detail.
Score the Perimeter Before You Chip
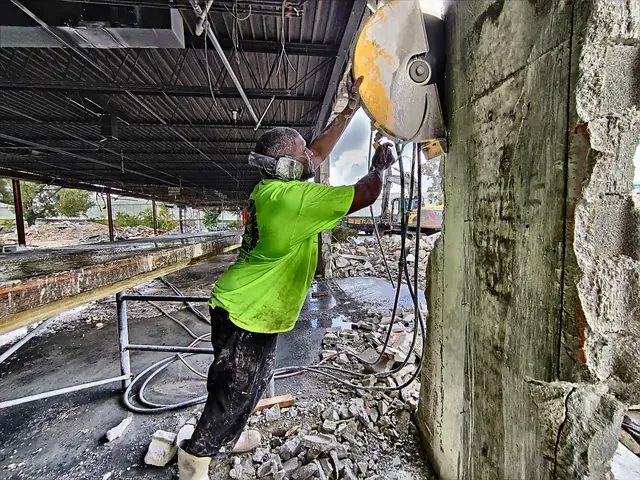
The step that separates clean chipping from a mess is scoring the edges first. A quick saw cut around the perimeter of the area you are removing creates a clean boundary. The chipping hammer then works inside those lines, and the surrounding concrete stays intact.
Without the score line, the chipping can travel outward, and the damaged area grows as you work. A repair that should have been a foot square becomes three feet square because the edges kept crumbling. The score line takes two minutes and saves you an hour of patching. This is the single most important technique in fixing concrete chipping.
Work in Shallow Passes and Watch the Depth
Chipping is a depth-sensitive job, and the way to control depth is to work in shallow passes. Do not try to take the full depth in one go. Chip off a shallow layer, check where you are, and repeat. This is especially important when there is rebar, conduit, or a pipe beneath the concrete, which is common in Miami slabs.
As you approach whatever is underneath, lighten your touch. The goal is to expose it without damaging it, whether that is rebar you are cleaning for a repair or a pipe you are trying not to hit. Depth control is the whole point of chipping instead of breaking, and it is what makes the job precise.
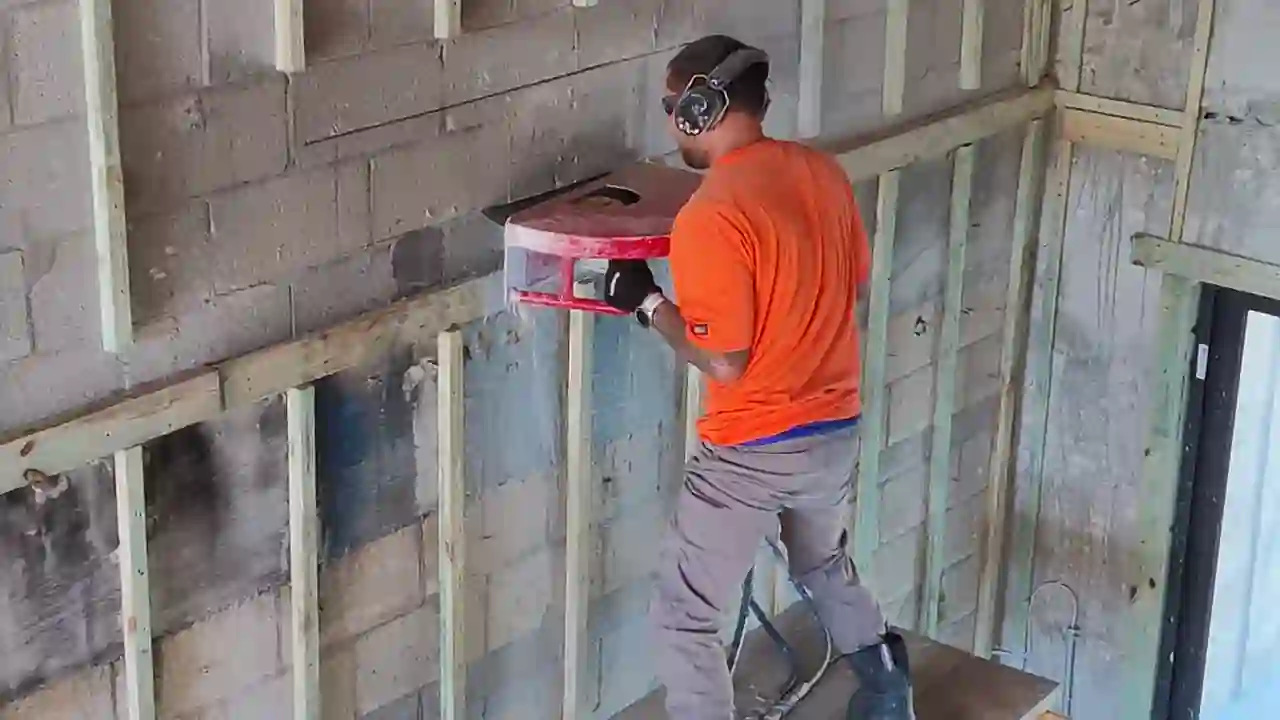
Protect Yourself From Dust and Debris
Chipping concrete throws dust and small fragments, and the dust is more dangerous than the debris. Concrete dust contains silica, and inhaling it is a serious long-term respiratory hazard. Wear a proper respirator, not just a dust mask, and eye protection. In Miami’s humidity, add hydration and regular breaks to the safety plan.
If the concrete is near the coast and has corroded rebar, the dust can also contain rust and salt particles, which is another reason to keep it out of your lungs. Our guide to concrete dust exposure explains the health risks and the right protection.
Leveling a High Spot Before New Flooring
One of the most common chipping jobs in a Miami home is knocking down a high spot on a slab before new flooring goes in. When a slab has a hump, the flooring over it will rock, gap, or crack, so the high spot has to come down to a flat plane first. Chipping is the tool for a distinct hump, while grinding handles the broader, shallower variations.
The key is removing just enough to reach flat without going too deep, because a low spot is as much a problem as a high one. A contractor checks the floor with a straightedge as they work, chipping and checking until the surface reads flat. It is patient work, but it is what keeps a new tile or hardwood floor from telegraphing every imperfection underneath. Our guide to concrete chipping for surface prep covers the leveling process.
Chipping Around a Pipe or Conduit
Chipping is often the safest way to expose a pipe or conduit that is embedded in concrete, because it removes material in small, controlled pieces rather than breaking it. When a slab needs a plumbing repair, the concrete around the pipe is chipped back so the pipe can be worked on without risking a saw blade or a breaker hitting it. The control is the whole point.
The technique is to chip down in shallow passes, getting lighter as you approach the pipe, until it is cleanly exposed and undamaged. It takes longer than breaking, but it protects what you are trying to reach. Our guide to chipping a slab without damaging what is underneath explains the careful approach.
When a Jackhammer Is the Wrong Tool
A jackhammer is a breaking tool, not a chipping tool, and using one for a chipping job is how small repairs become big ones. A jackhammer removes material fast and with little finesse, so it is great for demolition and terrible for the precise edge of a repair. When you need to feather an edge or expose a pipe, the jackhammer is the wrong tool in your hands.
The difference comes down to control. A chipping hammer breaks off small pieces you can direct; a jackhammer shatters everything around it. Choosing the right one for the job is the first decision in any concrete removal. Our guide to breaking concrete explains when each tool earns its place.
Start by scoring the edge of the area you are chipping, and the whole job goes smoother. A quick saw cut around the perimeter creates a clean boundary that stops the chipping from running into the concrete you want to keep. Without that scored line, a chipping hammer will wander, and a small repair quickly becomes an oversized patch with ragged edges that never look right.
Keep the tool moving and work in shallow passes rather than trying to take the whole depth at once. A chipping hammer does its best work at a shallow angle, peeling material away instead of driving straight down and fracturing what is underneath. That lighter touch is how you expose rebar without damaging it, and how you level a floor without breaking through the slab you are trying to save.
Protect yourself before you start, because chipping throws dust and chips in every direction. Safety glasses are the minimum, and a respirator is the right call any time the chipping is indoors or the concrete is old enough to be releasing silica dust. Ear protection matters too with a chipping hammer, which is loud enough to damage hearing over a long session. The tool does the work, but the protection is what keeps you safe doing it.
Finally, work in short sessions and check your progress often, because chipping is a job where it is easy to overshoot. Taking off too much is how a small leveling job becomes a patch, so chip a little, check the depth, and repeat. Patience is what keeps a chip job from turning into a break job.
Know When Chipping Becomes a Bigger Job
Chipping is the right call when the damage is localized and the concrete around it is sound. But if you start chipping and find the damage runs deeper, or the slab is cracked through, or the rebar is corroded beyond a simple repair, stop and reassess. Chipping a slab that needs full removal just delays the inevitable. Knowing when to stop chipping and start planning a removal is as important as knowing how to chip in the first place.