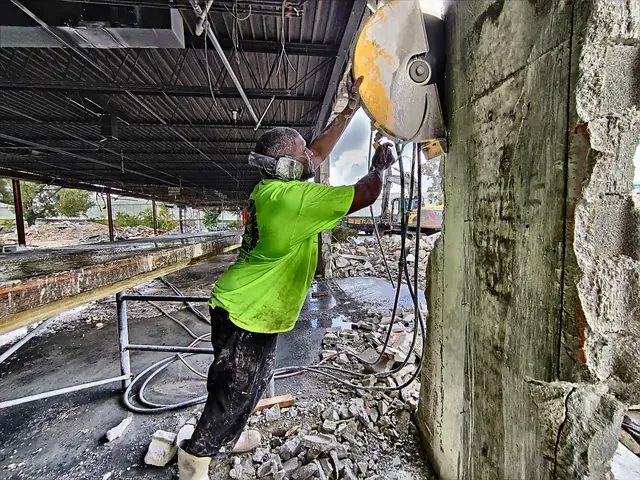
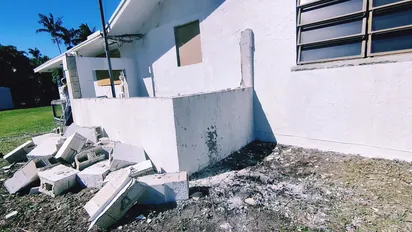
Why Concrete Cracks and What a Control Joint Does About It
Concrete does not crack because it is weak; it cracks because it shrinks. As fresh concrete cures, it loses water and contracts, and that contraction builds tensile stress that the material cannot fully absorb. A control joint is a deliberately weakened line cut into the slab that says, in effect, crack here instead of wherever the stress happens to peak. It is one of the most important details in any slab, and it is one of the most commonly skipped details on small residential pours.
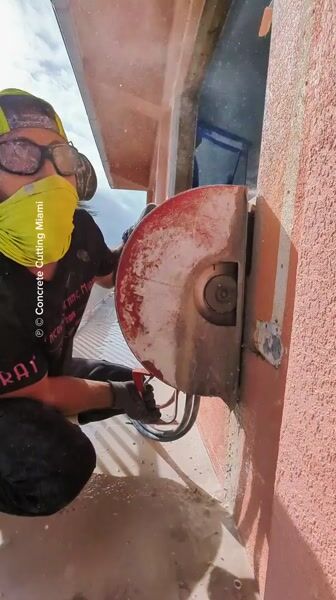
The idea is simple enough that people underestimate it. The joint has to be cut at the right time, to the right depth, and on the right spacing, or it does nothing. Cut too late and the slab has already cracked on its own terms. Cut too shallow and the crack simply jumps over the joint. The science is covered well in our explainer on why concrete needs to be cut.
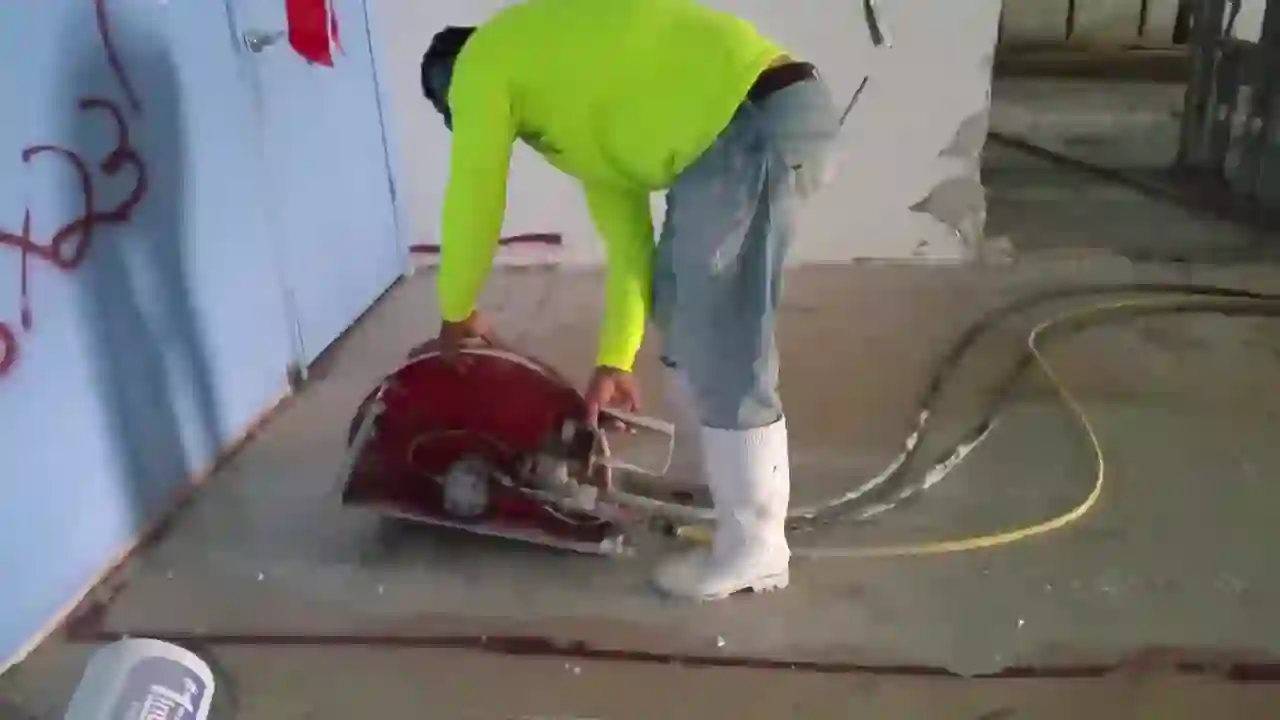
Where the Joints Go and How Far Apart They Should Be
The rule of thumb is that control joints should be spaced at roughly two to three times the slab thickness, measured in feet. A four-inch slab, for instance, typically wants joints every eight to twelve feet. The panels should stay as square as practical, because long, skinny rectangles crack more readily than compact ones. Inside corners, where a slab changes shape, are also prime spots for a joint, because reentrant corners concentrate stress.
Miami’s climate adds a twist. The heat and humidity accelerate the early curing, which means the window for cutting joints can arrive sooner than it does in cooler climates. A contractor who waits for the textbook timing from a northern job can miss the window entirely. Matching the schedule to the weather is part of why local experience matters. For more on placement, our guide to cutting a control joint the right way walks through the specifics.
How Deep and How Wide a Control Joint Needs to Be
Depth is the detail that determines whether the joint actually controls the crack. The joint should be cut to about one-quarter of the slab thickness, sometimes a touch deeper depending on the mix. On a four-inch slab, that is a one-inch-deep cut. If the joint is too shallow, the natural crack forms anyway, just a few inches away from your tidy line. Getting the depth right is not optional; it is the whole point of the joint.
Width matters less for residential slabs, where a simple saw-cut joint is usually enough. The cut gives the concrete a clean, straight line to follow, and once the slab cures, the joint can be left as-is or filled with a sealant to keep water and debris out. On driveways and commercial floors, the joint often gets sealed to protect the edges. Our piece on sawing control joints in driveways covers the sealing question in detail.
Early-Entry Versus Conventional Saw Cutting
There are two main ways to put a control joint in. The traditional way is to wait until the concrete has hardened enough to hold a saw without raveling the edges, then cut with a dry or wet saw. The newer approach is early-entry sawing, which cuts the joint while the concrete is still green, sometimes within hours of finishing. Early-entry lets you cut sooner and can reduce the chance of the slab cracking before you get to it, but it takes specialized equipment and a crew that knows how to read fresh concrete.
For most residential work in Miami, conventional saw cutting is still the standard, but the timing is critical. A slab that sits too long in the heat can crack overnight, before the saw ever arrives. That is why the finishing crew and the cutting crew need to be coordinated from the start. The cost side of this is explained in our look at what control joints actually cost.
The Cost of Skipping Control Joints Shows Up Fast
The temptation to skip control joints is strong, especially on a small residential pour where the homeowner wants a clean, uninterrupted surface. But concrete will crack, and without joints, it cracks wherever it wants, which is almost always somewhere ugly and hard to repair. A random crack in a new driveway or patio is not just cosmetic; it lets water into the slab, which accelerates spalling and shortens the life of the concrete. The joints you skip on day one are the cracks you chase for the next decade.
The economics favor the joints every time. A saw cut joint costs a few dollars per linear foot, and it takes minutes to cut. Repairing a random crack, or replacing a slab that has fractured into a web of fissures, costs hundreds or thousands. The joint is one of the highest-return details in all of concrete work, which is why every serious contractor insists on it. For a sense of what the numbers look like, our guide to control joint saw costs breaks down the pricing.
There is also an aesthetic argument for joints that most people overlook. A slab with a clean, symmetrical grid of joints looks intentional and finished, while a slab with random cracks looks damaged. The joint is not a compromise in the surface; it is part of the design. When the layout is planned before the pour, the joints become a feature rather than an afterthought, and the slab looks better for the life of the concrete.
Sealing the Joints and Why It Matters Over Time
Once a control joint is cut, the question becomes whether to seal it, and the answer is usually yes for anything that will see weather or traffic. A sealed joint keeps water, dirt, and debris out of the crack, which protects the edges and slows the deterioration that starts at every joint. An unsealed joint collects grit and water, and over time the edges chip and spall, turning a clean line into a ragged channel. The sealant is cheap insurance for the life of the joint.
The type of sealant matters with the application. A driveway or a commercial floor wants a semi-rigid or flexible sealant that can handle traffic and movement, while a patio can use a simpler caulk or a backer rod and sealant combination. The joint has to be clean and dry before sealing, or the sealant will not bond. Our guide to sawing and sealing control joints covers the materials and the technique.
The point is that a joint is not a finish line but the start of a maintenance task. A joint that is cut right and sealed right will stay clean and functional for the life of the slab, while one that is left open will become the first place the slab starts to fail. The little bit of care at the joint pays off across the whole surface.
If there is one detail to take away, it is that the joints have to be planned and cut on time, or they do not do their job. The concrete will crack no matter what, and the joints are how you decide where. A slab with a good joint layout is a slab that has been given its instructions, and it will follow them for the life of the concrete.
Do Not Let the Joint Be an Afterthought
A control joint is cheap insurance against a cracked, ugly slab, but only if it is planned before the pour and cut at the right moment. If you are pouring a new driveway, patio, or floor, make the joint layout part of the plan from the beginning, not something a saw operator has to improvise later. The difference is the difference between a slab with a few tidy, intentional lines and one with a web of random cracks. Get the joints right and the concrete will do exactly what you asked it to do.