Why Concrete Lifespan Is a Technical Problem, Not Just a Timeline
Most spec sheets will tell you concrete lasts 50 to 100 years. That number is nearly useless without context. A 4,000 PSI residential slab poured in Phoenix and a 4,000 PSI slab poured in Miami are living in completely different chemical environments. In South Florida, you’re dealing with chloride-laden air, high humidity, thermally driven expansion cycles, and aggressive groundwater — all of which compress that theoretical lifespan into something far shorter if the slab wasn’t designed, poured, and maintained with precision. Understanding concrete lifespan means understanding the specific degradation mechanisms attacking your structure right now, not a generic warranty window. This guide gives you the diagnostic framework and the intervention strategies to either extend service life or make the surgical decision to cut and replace before catastrophic failure forces your hand.
Reading the Degradation Clock on Any Concrete Structure
Concrete degradation isn’t random — it follows a sequence that experienced consultants can read like a timeline. The first phase is surface carbonation, where atmospheric CO₂ reacts with calcium hydroxide in the cement paste, lowering the pH from around 12.5 down toward 8. Once pH drops below 10, the passive oxide layer protecting embedded rebar begins to dissolve. That’s when Phase 2 begins — chloride-induced corrosion, which in coastal Miami environments can initiate within 10–15 years on poorly specified slabs. Rebar corrosion produces iron oxides that expand up to 6 times the original volume of the steel, generating internal tensile stresses the concrete simply cannot resist. The result is delamination, spalling, and eventually structural compromise.
Phase 3 is alkali-silica reaction (ASR), a slower but equally destructive process where reactive silica in certain aggregates reacts with alkali hydroxides in the cement paste to form a hygroscopic gel. This gel absorbs moisture and expands, producing a characteristic map-cracking or “crazing” pattern on the surface. If you’re seeing that pattern on a slab that’s 20–30 years old in a humid climate, you’re likely looking at mid-to-late stage ASR. At that point, the question isn’t whether the slab will need intervention — it’s whether targeted concrete slab replacement or partial removal is more cost-effective than continued patching.
The Five Diagnostic Indicators That Demand Immediate Action
- Crack widths exceeding 0.3mm in structural members — At this threshold, chloride and water infiltration accelerates exponentially. Hairline cracks are cosmetic; anything wider is a highway for corrosive agents.
- Hollow-sounding areas under hammer tap testing — Delamination beneath the surface indicates that bond failure has already occurred between the concrete substrate and either a topping slab or the cover concrete over rebar.
- Rust staining along construction joints or at slab edges — This is visual confirmation that rebar corrosion is active. The staining you see on the surface represents corrosion that’s been progressing internally for months or years.
- Differential settlement exceeding 3/4 inch across a 10-foot span — Subgrade failure, erosion, or organic soil consolidation beneath the slab has reached the point where load transfer is compromised.
- Efflorescence combined with surface scaling — The combination indicates that freeze-thaw cycling (even in Miami during rare cold snaps) or sulfate attack from groundwater is actively deteriorating the cement matrix.
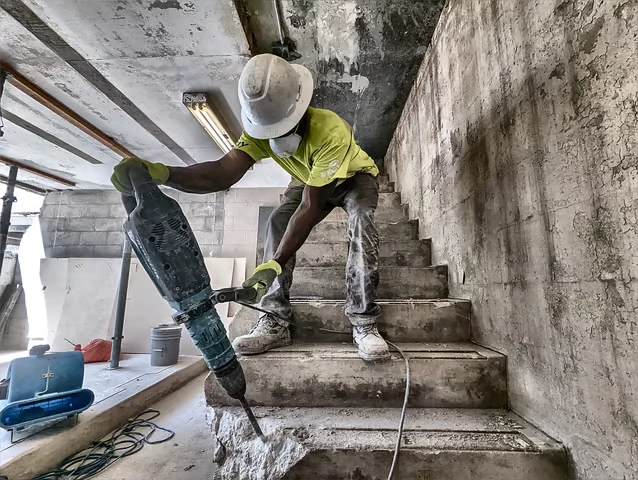
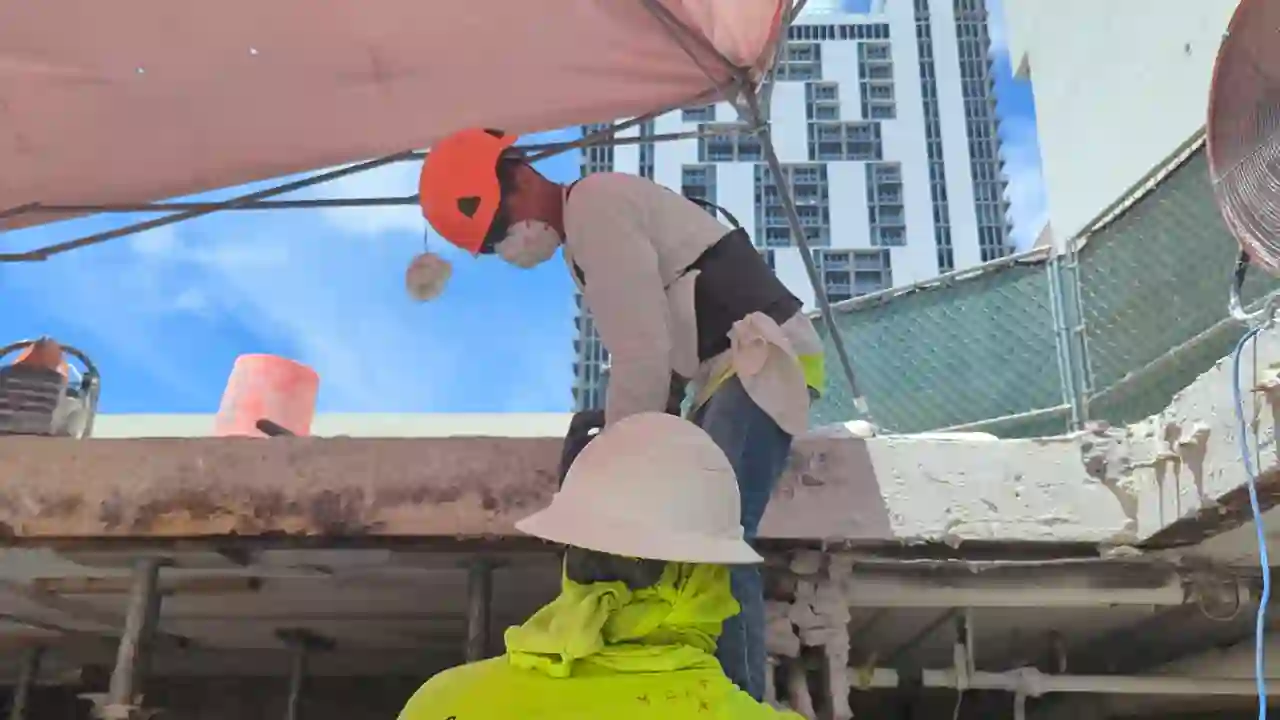
How Precision Cutting Extends Concrete Lifespan Instead of Ending It
One of the most counterintuitive truths in concrete management is that cutting is often a preservation strategy, not a demolition one. When you identify a localized zone of severe degradation — say, a 12-foot section of a parking deck where chloride contamination has penetrated to rebar depth — full-slab demolition is rarely necessary. What is necessary is precise removal of the compromised section, proper surface preparation of the remaining concrete, and a compatible patch or pour-back that restores structural continuity.
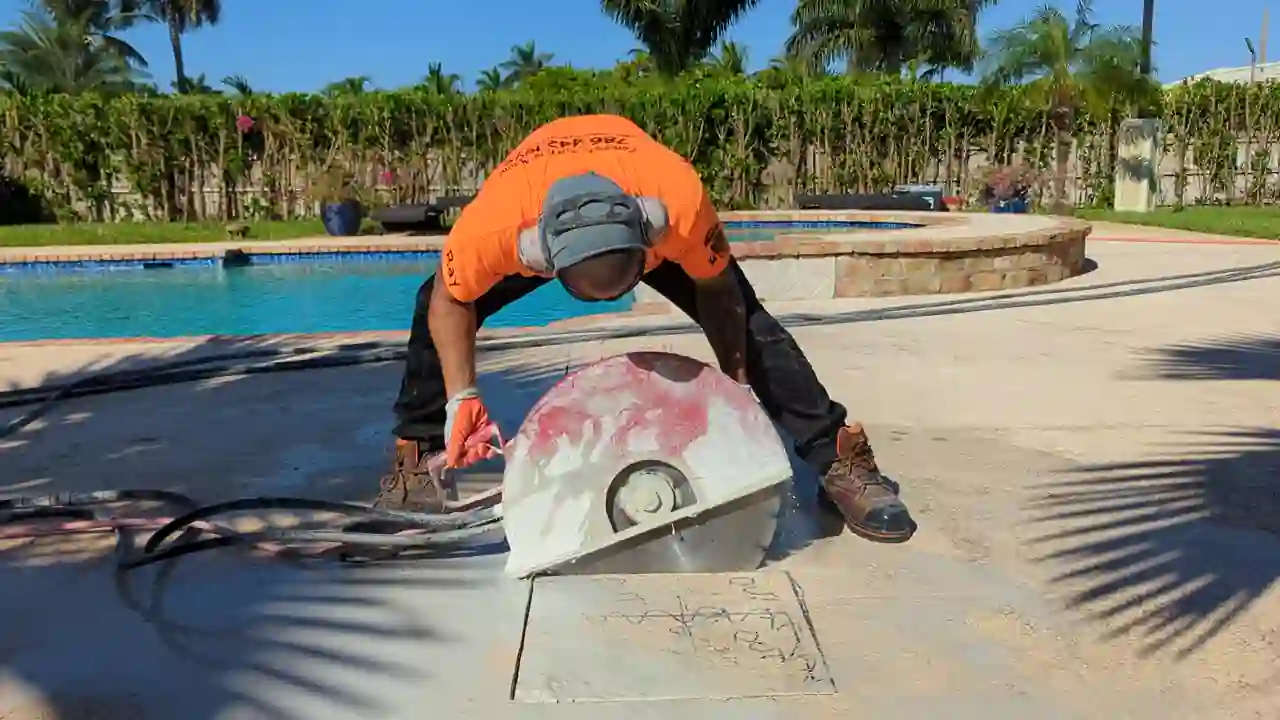
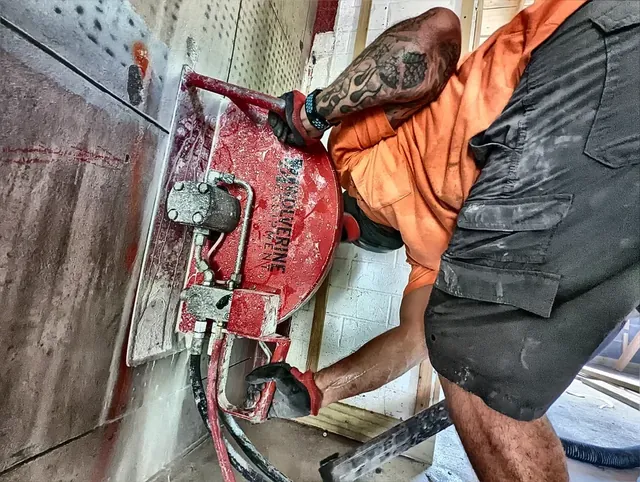
This is where equipment selection becomes critical. Using a slab saw with the correct blade specification for the aggregate hardness and reinforcement density allows contractors to make clean, controlled cuts that don’t introduce microcracks into the adjacent sound concrete. A flat, perpendicular cut face with no subsurface fracturing is essential for proper bonding of the repair material. Jagged or thermally damaged cut faces — the result of using undersized or worn blades — create a bond plane that will fail under thermal cycling within 2–5 years, negating the entire repair investment.
Diamond Blade Specification for Partial-Depth Concrete Removal in Corrosion Repair
For partial-depth repairs targeting chloride-contaminated cover concrete, the standard approach involves saw-cutting to a depth of at least 1 inch below the bottom of the corroded rebar. In Miami’s coastal environment, that typically means cutting to 2.5–3.5 inches on residential slabs and 3–5 inches on commercial structures with heavier cover requirements. Blade selection should prioritize a medium-bond diamond segment for the hard limestone aggregates common in South Florida mixes. Soft-bond segments cut faster but wear prematurely in hard aggregate, generating heat that can thermally stress the cut zone. For reinforced sections, use a continuous-rim blade with laser-welded segments rated for rebar cutting — not an abrasive disc, which produces heat and leaves a rough cut face incompatible with repair mortars.
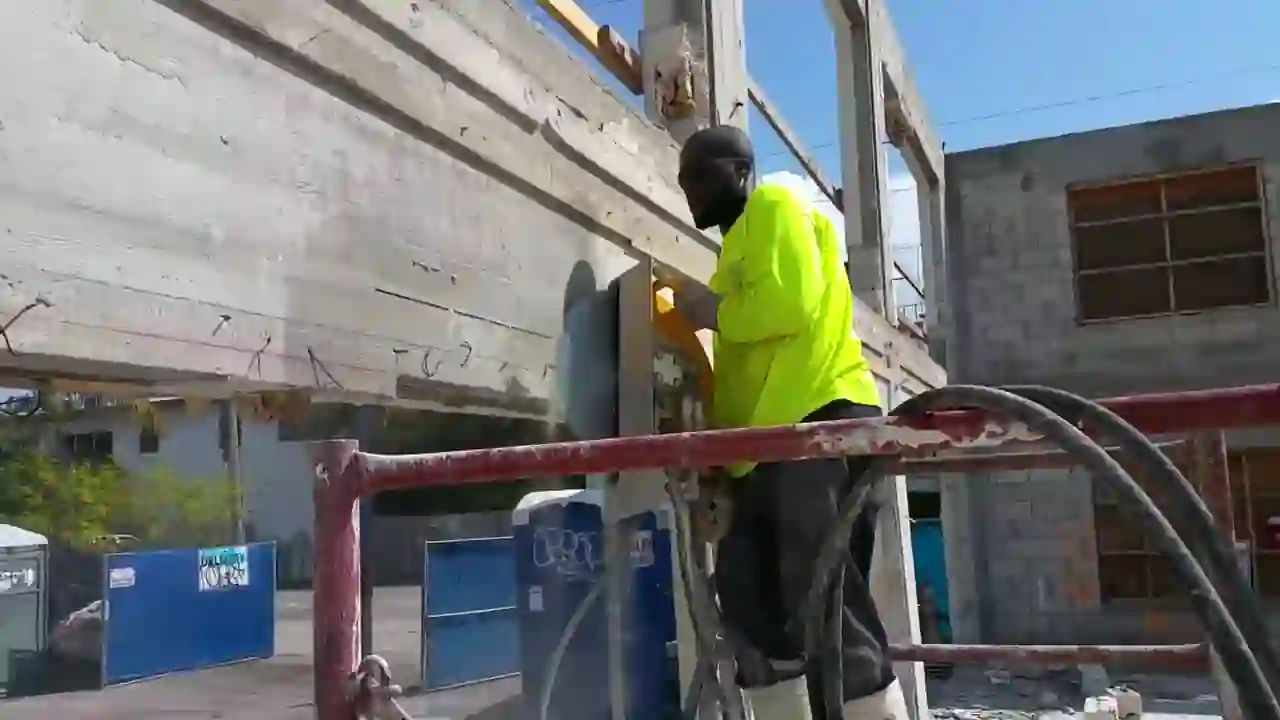
Access geometry matters enormously here. Tight column spacing, overhead obstructions, or proximity to post-tensioning tendons can eliminate certain equipment options entirely. Understanding diamond cutting access limitations before mobilizing equipment prevents costly remobilizations and protects adjacent structural elements from unintended damage.
The Environmental Compliance Layer That Most Miami Contractors Miss
Concrete cutting and removal in Miami-Dade County isn’t just a structural engineering problem — it’s a regulatory one. Slurry water generated during wet diamond cutting contains fine concrete particulate, heavy metals leached from aggregate, and potentially chromium compounds from cement hydration products. Discharging that slurry into storm drains is an EPA and Miami-Dade DERM violation that carries significant fines. Proper slurry management requires vacuum recovery systems, pH neutralization (cutting slurry is typically pH 11–12), and disposal through a licensed concrete waste handler.
For contractors working on projects involving older structures, there’s also the lead paint and asbestos-containing materials (ACM) overlay question. Concrete floors in buildings constructed before 1980 may have ACM-containing adhesives, coatings, or underlayments bonded to the slab surface. Cutting through those layers without proper air monitoring and containment violates NESHAP regulations. Miami contractors need to understand cutting charges and environmental compliance requirements before bidding any project on a structure older than 40 years.
Proactive Maintenance Protocols That Measurably Extend Service Life
- Penetrating silane/siloxane sealer application every 5–7 years on exposed horizontal surfaces — These penetrate 3–5mm into the concrete matrix, lining capillary pores with hydrophobic material that reduces chloride ingress by 60–80% compared to unsealed concrete.
- Joint sealant replacement on a 7–10 year cycle — Failed joint sealants are the primary water infiltration pathway in parking structures and exterior flatwork. Polyurethane sealants outperform silicone in high-traffic joint applications due to superior abrasion resistance.
- Cathodic protection systems for heavily reinforced marine-adjacent structures — Impressed current cathodic protection (ICCP) systems can arrest active corrosion and extend remaining service life by 25–40 years in aggressive chloride environments.
- Annual ground-penetrating radar (GPR) scans on post-tensioned slabs — GPR identifies tendon voids, delamination zones, and subgrade voids before they become visible at the surface, allowing targeted intervention at a fraction of the cost of reactive repair.
- Crack injection with low-viscosity epoxy or polyurethane for structural and non-structural cracks respectively — Epoxy restores structural continuity; polyurethane provides flexible water-stopping in active cracks. Using the wrong product for the application type accelerates deterioration.
Making the Cut-or-Repair Decision with Confidence
The decision framework is straightforward once you have diagnostic data in hand. If chloride contamination is confined to the cover zone above rebar, partial-depth removal and repair is viable. If half-cell potential testing shows active corrosion across more than 40% of a structural element’s plan area, the economics shift decisively toward full section removal. If carbonation depth has reached rebar level throughout a slab, no surface treatment will reverse the degradation trajectory — you’re managing decline, not arresting it.
Concrete lifespan isn’t a fixed number. It’s a variable that you control through specification quality at the design stage, execution quality during placement and curing, and maintenance discipline throughout the service period. When degradation does occur — and in Miami’s environment, it will — the contractors and property managers who respond with precision cutting, proper repair material selection, and regulatory compliance will consistently achieve better outcomes at lower lifecycle costs than those who wait for visible failure and respond with wholesale demolition. The tools exist. The diagnostic methods are proven. The only variable is whether you apply them before the structure tells you it’s too late.