Why Most Concrete Bollard Installations Fail Before the First Vehicle Impact
When business owners search for concrete bollard installation near me, they usually have one of three problems already brewing — a parking lot that’s been rammed one too many times, a building entrance that needs vehicle exclusion for code compliance, or a property manager who just got hit with a liability notice. Whatever brought you here, the answer isn’t just “dig a hole and pour concrete.” Proper bollard installation is a structural engineering task that demands core drilling precision, correct embedment depth, appropriate concrete mix design, and a working knowledge of what’s running beneath your slab before the first bit touches the surface. This guide walks through the complete technical process the way Miami’s senior concrete contractors actually execute it — no shortcuts, no guesswork.
Understanding the Two Primary Bollard Installation Methods
Before any equipment rolls onto your site, you need to decide which installation method applies to your conditions. The two dominant approaches are cast-in-place bollards and surface-mounted bollards with core-drilled anchor pockets. Each has specific use cases, and choosing the wrong one is a costly mistake.
Cast-in-Place Concrete Bollards
Cast-in-place bollards are poured monolithically with a footing that extends below the frost line — or in Miami’s case, below the zone of soil movement, typically 24 to 36 inches depending on load rating. These are the highest-impact-resistance option and are specified when you need ASTM F2656 or DOT-rated vehicle barrier performance. The process requires excavation, form placement, rebar cage fabrication (typically #4 or #5 bar at 6-inch spacing), and a concrete pour using a minimum 4,000 PSI mix. In South Florida’s high-water-table environment, this often means dewatering the excavation before the pour.
Core-Drilled Anchor Pocket Method for Existing Slabs
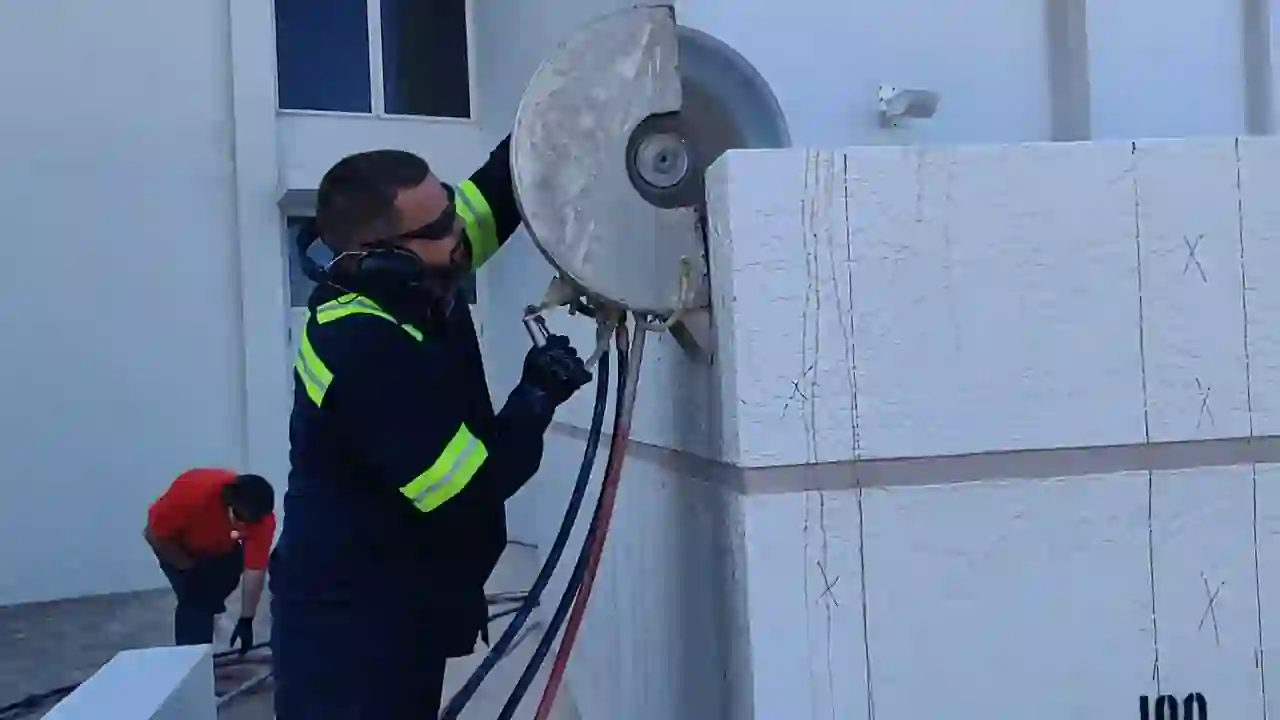
When you’re working with an existing concrete slab — a parking garage deck, a warehouse floor, or a retail storefront apron — the anchor pocket method is standard. A diamond core drill bores a hole typically 4 to 6 inches in diameter and 12 to 18 inches deep through the existing slab and into the substrate below. The steel bollard sleeve or post is set into this pocket, leveled, and grouted with a non-shrink, high-strength grout (Sika 212 or equivalent) achieving 8,000 PSI compressive strength at 28 days. This is where precision matters most — a hole that’s off-center or drilled at an angle produces a bollard that will never sit plumb, and no amount of shimming fixes that cleanly. This core drilling process is closely related to the techniques used in wet cutting operations, where water-cooled diamond tooling keeps the bit from overheating and prevents micro-fracturing in the surrounding concrete.

Site Assessment and Underground Utility Scanning Before Any Drilling Begins
This is the step that separates professional contractors from the guy with a rented hammer drill. In Miami, you are almost always working over a dense web of conduit, irrigation lines, post-tension cables, and plumbing. Hitting a post-tension cable during a core drill is not just a job-stopper — it’s a catastrophic structural event that can cost tens of thousands of dollars to remediate. Every bollard installation project must begin with ground-penetrating radar (GPR) scanning of the target area.
GPR units operating at 1.6 GHz to 2.6 GHz can resolve targets at depths of 12 to 18 inches with enough accuracy to identify rebar grids, conduit runs, and PT tendons. The scan results get marked on the slab surface with paint or chalk, and drill locations are adjusted accordingly. This is non-negotiable on any commercial site. It’s also why DIY concrete demolition approaches carry serious risk when applied to bollard work — the scanning equipment alone costs more than most homeowners want to invest, and skipping it is genuinely dangerous.
Specifying the Right Bollard Diameter and Embedment Depth for Your Load Requirement
Not all bollards are created equal, and the diameter of both the steel post and the core-drilled hole must be engineered to the expected impact load. Here’s a practical breakdown used by commercial concrete contractors in Miami:
- Light-duty pedestrian separation (no vehicle impact expected): 4-inch diameter steel pipe, 3.5-inch core, 12-inch embedment minimum
- Standard parking lot perimeter (low-speed vehicle contact): 6-inch diameter schedule 40 pipe, 6-inch core, 18-inch embedment in 4,000 PSI grout
- High-security storefronts and building entrances (crash-rated): 8-inch diameter schedule 80 pipe or solid steel, 8-inch core, 24-inch embedment with rebar dowels welded to the base plate and epoxied into the substrate
- DOT or FDOT-rated anti-ram bollards: Engineered submittals required, typically 10-inch pipe with a full footing design by a licensed PE
The grout annular space between the bollard and the core wall should be no less than 0.75 inches and no more than 1.5 inches to ensure proper grout consolidation. Anything wider and you’re relying on grout tensile strength to carry shear loads — that’s a failure mode waiting to happen.
Step-by-Step Execution on the Day of Installation
Once the site is scanned, drill locations are confirmed, and materials are staged, here’s the actual field sequence Miami crews follow for a core-drilled bollard installation:
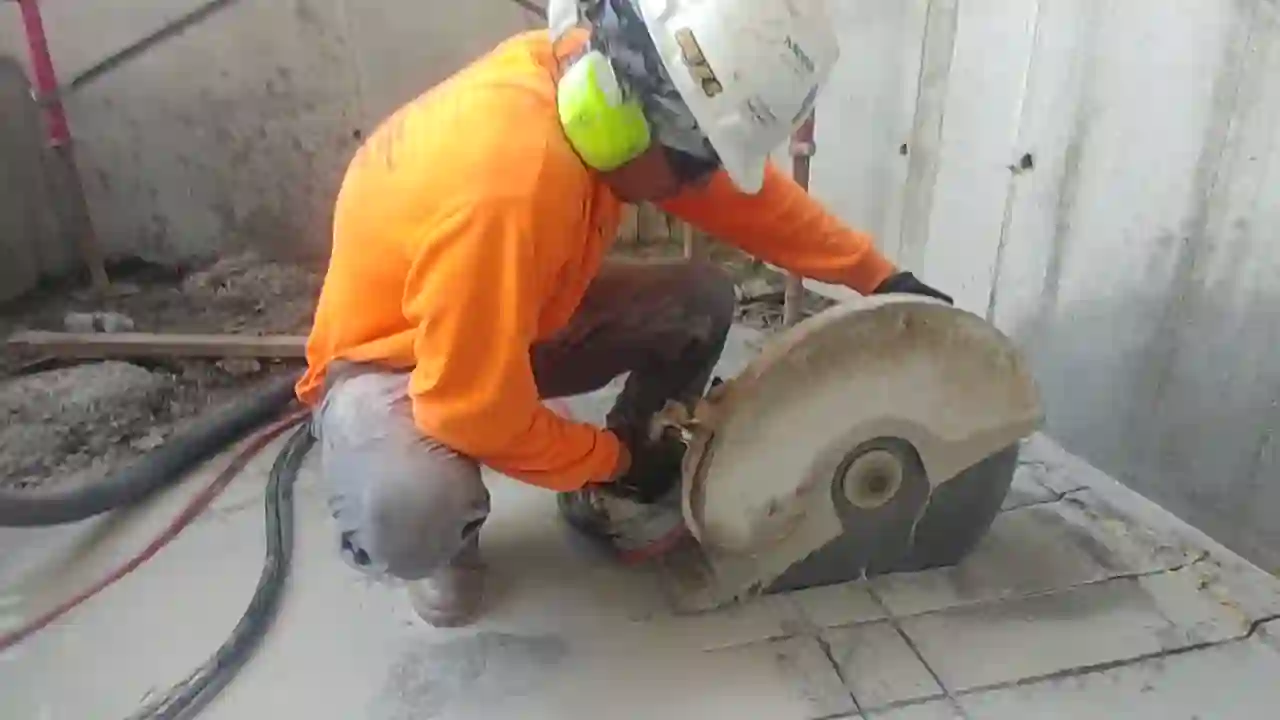
- Step 1 — Core Drilling: Set up a diamond core drill rig anchored to the slab with a vacuum mount or anchor bolt. Use a water-fed bit at 400 to 600 RPM. Drill to specified depth, withdraw the core slug, and vacuum the hole clean of slurry.
- Step 2 — Hole Inspection: Use a bore scope or flashlight to confirm the hole is clean, plumb within 2 degrees, and free of standing water. Any water must be blown out and the hole allowed to reach a saturated surface dry (SSD) condition before grouting.
- Step 3 — Grout Mixing: Mix non-shrink grout per manufacturer specs — typically a 0.45 water-to-powder ratio by weight. Do not over-water. Consistency should be flowable but not segregated.
- Step 4 — Bollard Placement: Partially fill the hole with grout, set the bollard, check plumb on two perpendicular axes with a level, and brace with a temporary jig. Finish filling the annular space with grout, ensuring no voids.
- Step 5 — Cure Time: Non-shrink grout typically achieves handling strength (3,000 PSI) in 24 hours at 70°F. In Miami’s summer heat, expect faster surface set but monitor core temperature — excessive heat can cause premature drying and cracking. Keep the grout shaded and misted for the first 4 hours.
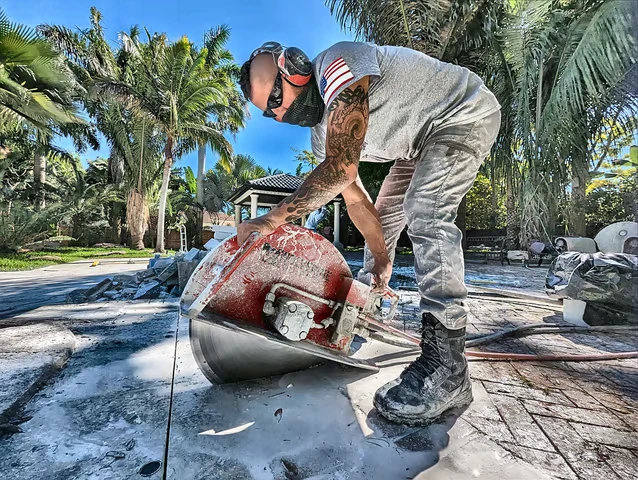
How Bollard Work Connects to Broader Concrete Cutting Operations on Commercial Sites
Bollard installation rarely happens in isolation on a commercial site. More often, it’s part of a larger site hardening or renovation project that also involves slab sawing, wall openings, or demolition of existing curbs and barriers. Understanding how these operations interconnect helps you sequence the work correctly and avoid costly rework. For example, if your site also requires new doorway openings through block or concrete walls, that work should be completed before bollards are set — because heavy equipment movement across a freshly grouted bollard field is a problem. You can see how commercial wall opening projects are handled at our commercial door cutout service page, which covers the diamond blade wall sawing process used on Miami commercial builds.
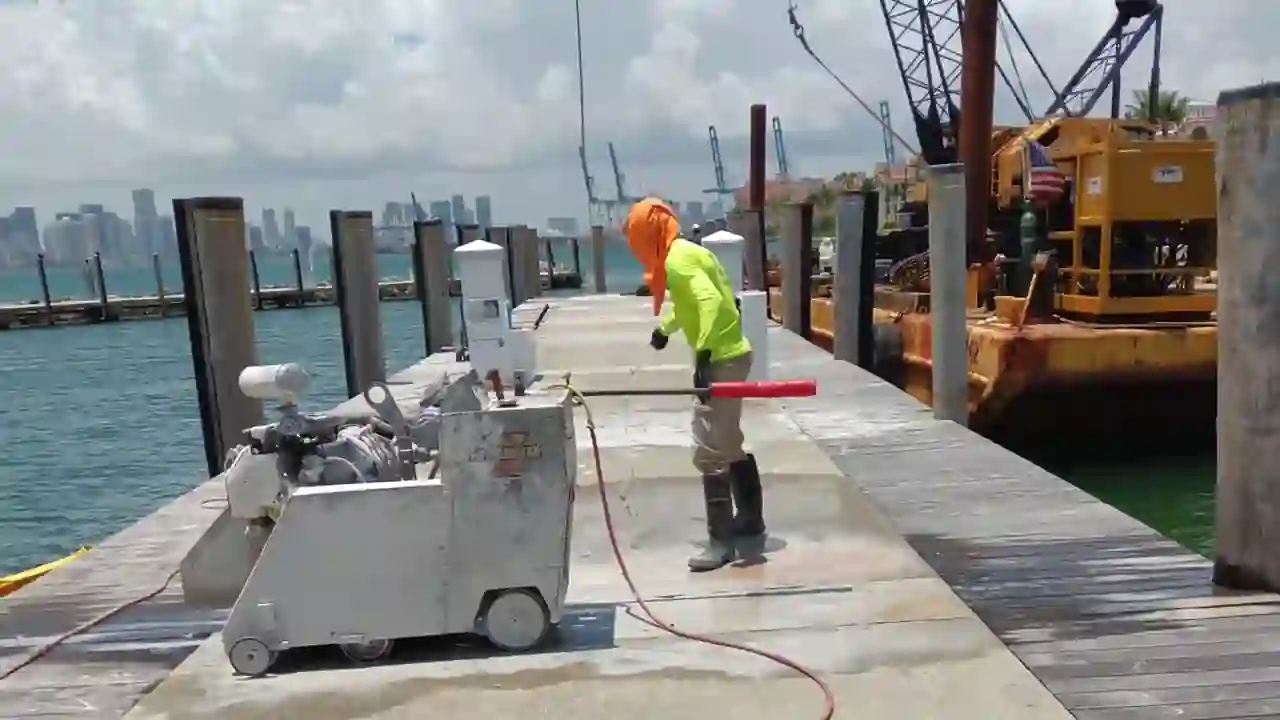
Similarly, if your project involves removing existing concrete barriers, pads, or curb stops before bollards can be set, that demolition work needs to be scoped separately. The precision required for controlled concrete removal in tight commercial spaces is detailed in depth in this resource on concrete demolition in Miami. And for projects where the existing slab needs to be cut and removed around the bollard zone, slab sawing equipment is the right tool — flat saws with diamond blades rated for the slab thickness and aggregate type on your specific site.
Permitting and Code Compliance for Bollard Installation in Miami-Dade County
Miami-Dade County building code requires a permit for any structural concrete work, and bollard installation in commercial settings typically falls under the structural or site work permit category. For crash-rated bollards near public rights-of-way, FDOT coordination may also be required. The permit application will generally need a site plan showing bollard locations, spacing, and setback from the property line, along with a product specification sheet or engineered drawing for the bollard assembly.
Unpermitted bollard installations are a liability problem — if a bollard fails during a vehicle impact and there’s no permit on file, your insurance claim is compromised. Always pull the permit. A licensed concrete contractor in Miami will handle this as part of the project scope, not as an add-on. Work with crews who are familiar with urban concrete demolition and construction protocols in dense commercial environments — they’ll know the inspection sequence and how to schedule work around it.
Getting Accurate Quotes for Concrete Bollard Installation Near You
When you’re collecting bids, the price spread between contractors can be dramatic — and it usually reflects what’s being left out. A complete bollard installation quote should itemize GPR scanning, core drilling (per hole, with bit size specified), non-shrink grout material and labor, bollard material (steel schedule and diameter), surface finish or cap detail, and permit fees. Any quote that gives you a single lump number without breaking out these line items is hiding something — usually the scanning, which is the step most low-bid contractors skip.
For Miami commercial properties, expect installed costs for standard 6-inch parking lot bollards to range from $400 to $900 per unit depending on site conditions, slab thickness, and access constraints. High-security crash-rated installations with engineered submittals run significantly higher. Get three quotes, ask each contractor to walk you through their scanning protocol, and verify they carry general liability and workers’ comp before signing anything.
The right contractor for concrete bollard installation near you isn’t just the one with the lowest number — it’s the one who asks the right questions about your slab, your utilities, your load requirements, and your timeline before they ever quote you a price. That’s the difference between a bollard that holds for twenty years and one that gets pulled out of the ground by the next delivery truck that clips it.