Why Concrete Chipping Is Never Just a Surface Problem
When you see a chip in a concrete slab, a wall face, or a structural column, your first instinct might be to reach for a bag of hydraulic cement and call it done. That instinct will cost you. Concrete chipping — the progressive spalling, flaking, and fracturing of the surface layer — is almost always a symptom of a deeper mechanical, chemical, or structural failure. Treating the surface without diagnosing the root cause is the single most common reason Miami property owners watch the same repair fail within 12 to 18 months. This guide is built to stop that cycle. We’re going to walk through how professionals identify chipping causes, which removal and preparation techniques apply to each scenario, and how to execute repairs that actually hold in South Florida’s aggressive environment.
Diagnosing the Root Cause Before You Touch a Chisel
Proper diagnosis separates a $400 repair from a $4,000 recurring nightmare. Chipping in concrete falls into four primary failure categories, and each demands a different remediation pathway.
Carbonation-Induced Delamination
In coastal environments like Miami, atmospheric CO₂ penetrates the concrete matrix and reacts with calcium hydroxide to form calcium carbonate. This process — carbonation — lowers the pH of the concrete from roughly 12.5 down toward 8.5. Once the pH drops below 9, the passive oxide layer protecting embedded rebar breaks down. The resulting corrosion expands rebar volume by up to 600%, generating internal tensile stress that fractures the cover concrete outward. If you’re seeing rust staining alongside your chips, you’re dealing with carbonation-driven corrosion. A phenolphthalein pH indicator test on a freshly broken face will confirm it — carbonated zones stay colorless while healthy concrete turns deep purple.
Freeze-Thaw Cycling vs. Thermal Shock in Hot Climates
Miami doesn’t freeze, but it does experience rapid thermal cycling. Concrete slabs exposed to direct sun can reach surface temperatures above 150°F, then drop 40 to 50 degrees when afternoon thunderstorms hit. This repeated thermal shock creates micro-cracking in the paste matrix. Over time, those micro-cracks interconnect, and surface layers begin to delaminate as thin chips. This pattern typically produces shallow, map-cracked chips rather than the deeper, angular fractures associated with rebar corrosion.
Alkali-Silica Reaction (ASR) Pop-Outs
Certain reactive silica aggregates present in Florida limestone-based mixes can react with alkali hydroxides in the cement paste to form an expansive silica gel. ASR pop-outs are distinctive — they typically show a concentric ring pattern around a central aggregate particle. If you’re seeing these circular chips scattered across a slab surface, standard patching won’t stop the progression. The reaction is ongoing inside the concrete mass, and surface repair is a temporary cosmetic measure at best.
Mechanical Impact and Construction Damage
Not all chipping has a chemical origin. High-cycle foot traffic, forklift impact, dropped tools, and improper saw cutting can all produce localized chipping. These cases are the most straightforward to repair, provided the surrounding concrete is structurally sound. A sounding test — dragging a chain or tapping with a hammer — will reveal hollow delaminated zones versus solid substrate. Any area that sounds hollow must be removed entirely before patching begins.
Mechanical Removal Techniques That Actually Prepare the Substrate
Once you’ve identified the failure mode, removal and surface preparation become the most critical phase of the repair. Inadequate prep is responsible for more patch failures than poor material selection. Here’s how the pros approach it.
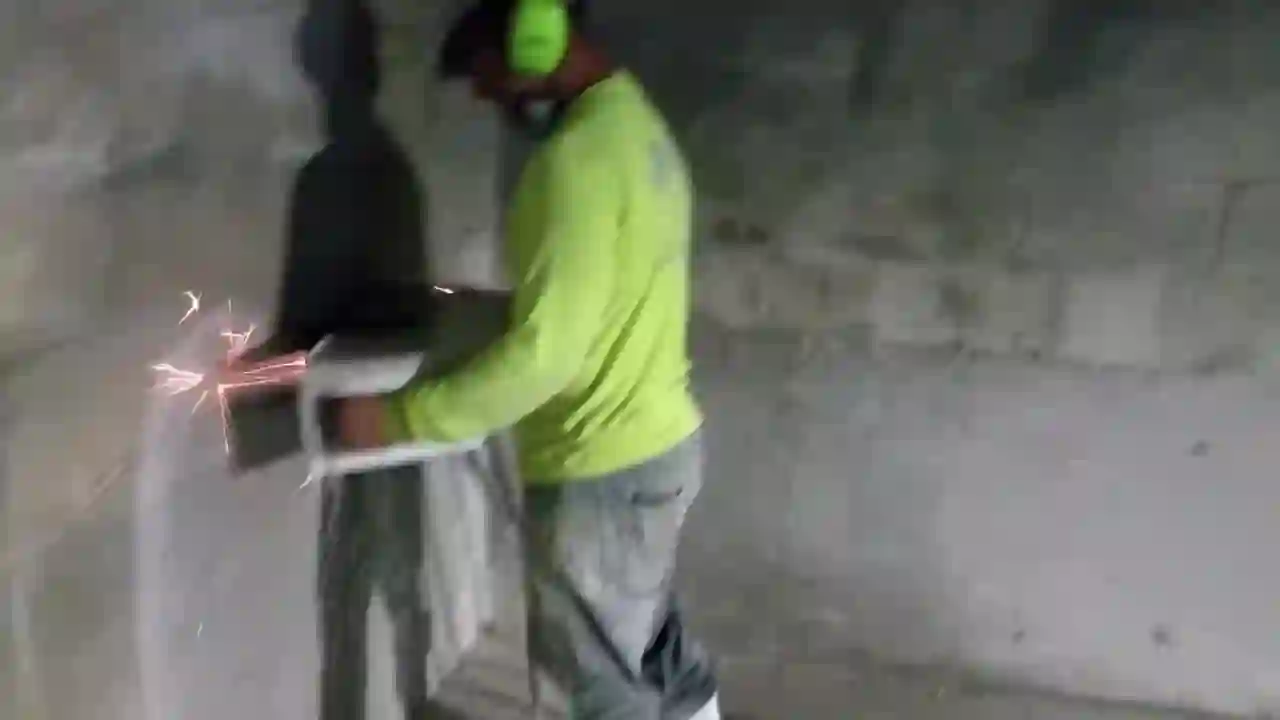
Pneumatic and Electric Chipping Hammers for Delaminated Cover Concrete
For corrosion-driven spalling where the cover concrete has separated from the rebar, pneumatic chipping hammers in the 15 to 30 lb class are the standard tool. The technique matters as much as the equipment. Work the chisel at a 30 to 45-degree angle to the surface, undercutting the edges of the repair area to create a mechanical key for the patch material. Never feather the edges — a tapered edge creates a thin section that will re-chip under thermal movement. Saw-cut the perimeter of the repair zone to a minimum depth of ¼ inch to establish a clean, vertical edge.
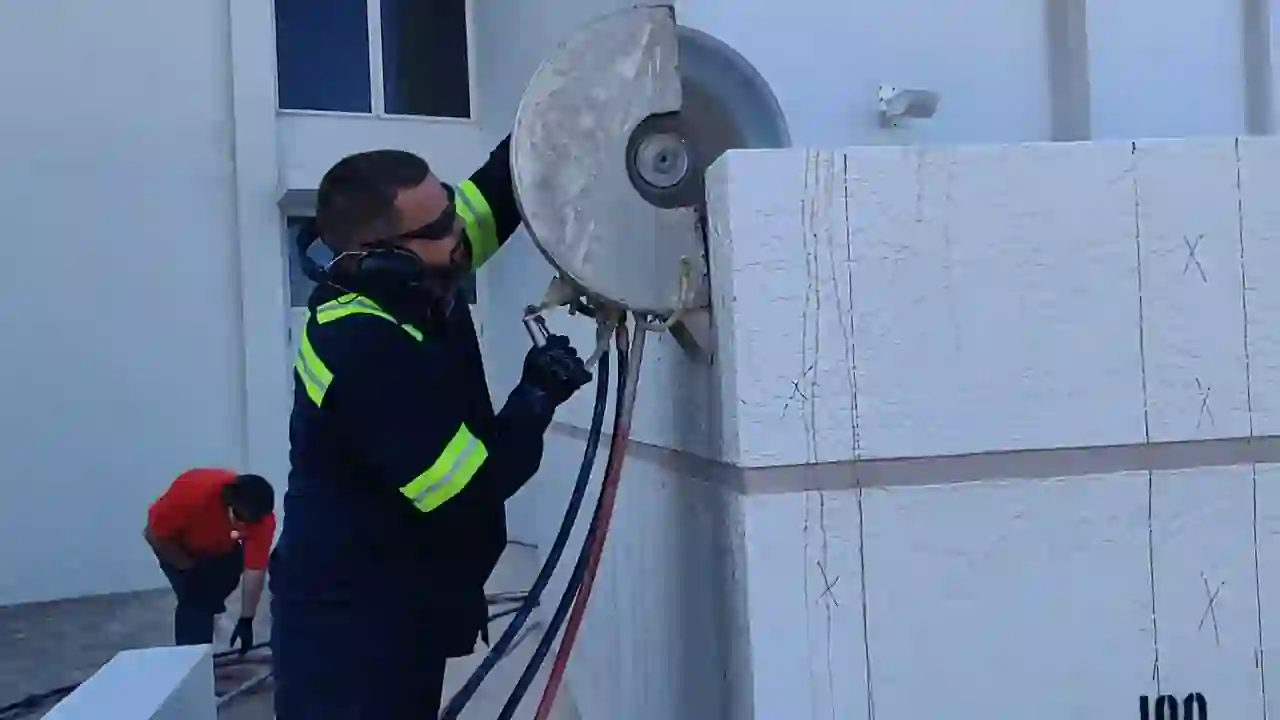
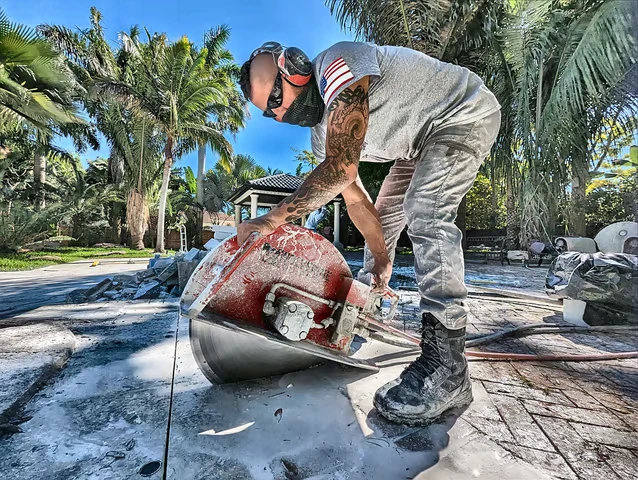
Controlled Demolition for Large Spall Areas
When spalling covers more than 10 square feet or extends deeper than 2 inches, hand chipping becomes inefficient and inconsistent. Rotary hammer demolition tools with wide-chisel attachments, combined with angle grinding for perimeter cuts, produce a more uniform substrate. For structural members or post-tensioned slabs, this work requires engineering oversight — cutting or chipping in the wrong location on a post-tensioned deck can have catastrophic consequences. If you’re working on a PT slab, stop and consult a structural engineer before any removal work begins. Our team handles complex demolition techniques on exactly these kinds of sensitive structures.
High-Pressure Water Jetting for Contaminated Surfaces
When chipping is accompanied by oil contamination, efflorescence, or laitance buildup, mechanical chipping alone won’t give you a bondable surface. Ultra-high-pressure water jetting at 20,000 to 40,000 PSI removes contamination and creates a surface profile equivalent to ICRI CSP 5 to 7 without introducing micro-fractures from impact. This is the preferred prep method for horizontal surfaces where bond strength is critical.
Selecting the Right Repair Mortar for Miami’s Climate
Material selection for concrete chipping repair in South Florida is not the same as in a temperate northern climate. High ambient temperatures accelerate hydration, reduce working time, and increase the risk of plastic shrinkage cracking in fresh patches. Here’s what actually works.
Cementitious Repair Mortars with Corrosion Inhibitors
For rebar-related spalling, the repair mortar must include a corrosion inhibitor — either calcium nitrite or an amine-based organic inhibitor — to protect the cleaned rebar and slow re-corrosion. Apply a rebar coating such as zinc-rich epoxy primer before placing the mortar. The mortar itself should be a polymer-modified cementitious mix with a minimum compressive strength of 5,000 PSI at 28 days and a low water-to-cement ratio below 0.40.
Epoxy Injection for Structural Cracks Beneath Chipped Areas
If sounding reveals that chipping is accompanied by structural cracking below the surface, epoxy injection must precede any surface repair. Low-viscosity epoxy injected under pressure into cracks as narrow as 0.002 inches restores structural continuity. Patching over an uninjected crack guarantees that the patch will re-crack along the same plane within months.
For residential applications across Miami, we’ve documented successful repair sequences in detail — including chipping and surface restoration work — in our guide to innovative concrete cutting, chipping, and demolition solutions for Miami residences.
Post-Repair Protection That Extends Patch Life in Coastal Conditions
A repaired surface without a protective coating system in Miami’s chloride-laden marine atmosphere has a significantly shortened service life. The repair is only as durable as the protection applied over it.
Penetrating Silane-Siloxane Sealers for Horizontal Slabs
For driveways, pool decks, and flatwork, a 40% silane-siloxane penetrating sealer applied within 28 days of patch cure reduces chloride ingress by over 90% in independent testing. These sealers don’t form a surface film — they chemically bond within the concrete pores, making them far more durable than acrylic or polyurethane topcoats in high-UV environments.
Elastomeric Coatings for Vertical and Overhead Surfaces
Walls, columns, and overhead soffits benefit from elastomeric waterproof coatings applied at a minimum dry film thickness of 20 mils. The elastomeric property allows the coating to bridge micro-cracks that develop from thermal movement, preventing water infiltration that would otherwise restart the corrosion cycle.
Proper ongoing maintenance after repair — including annual inspections, crack monitoring, and sealer reapplication every 3 to 5 years — is what separates a 5-year patch from a 25-year repair. Properties in coastal zones, including those in South Miami Heights, face particularly aggressive chloride exposure that makes this maintenance schedule non-negotiable.
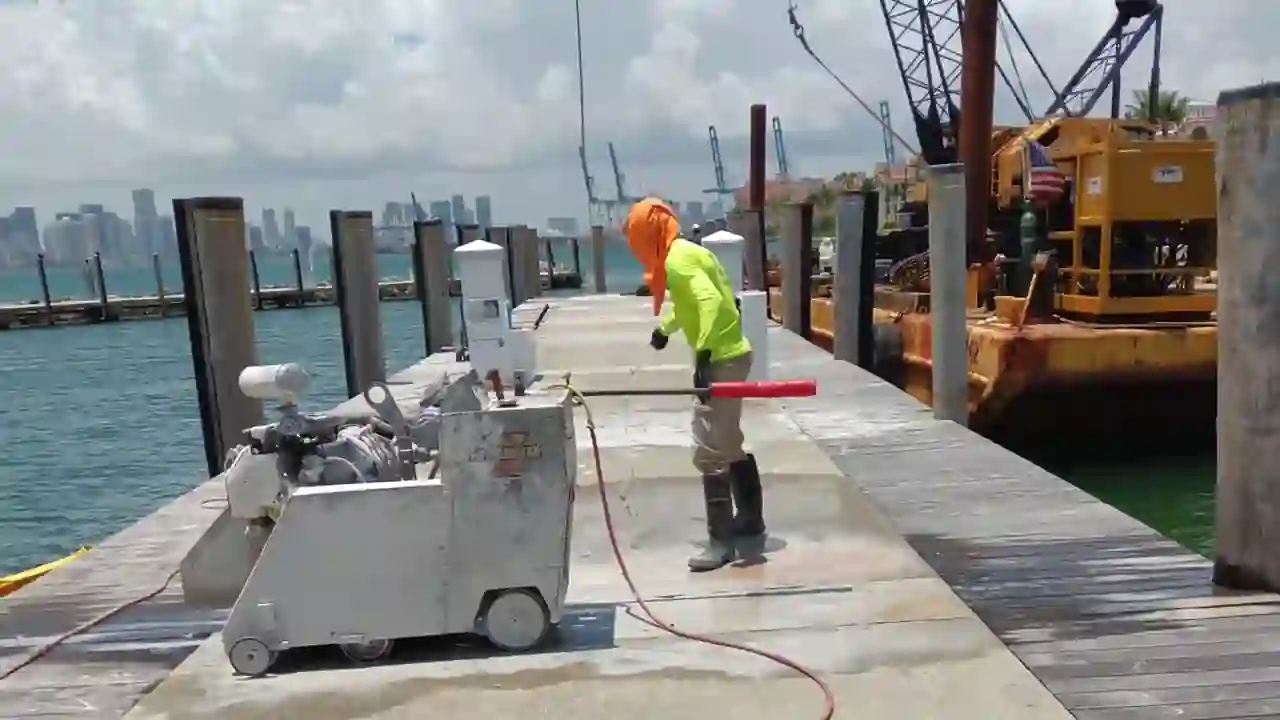
When Chipping Repair Crosses Into Marine Construction Territory
Concrete chipping on seawalls, dock pilings, boat ramp aprons, and submerged structural elements requires a completely different approach. Tidal zone concrete is subjected to simultaneous chloride attack, wet-dry cycling, biological fouling, and impact from marine traffic. Standard repair mortars will not bond reliably in continuously wet or submerged conditions. Underwater epoxy mortars, form-and-pump grouting systems, and jacketed pile repair systems are the appropriate technologies for these environments. Our marine construction concrete cutting services team works specifically in these conditions and understands the material science required to make repairs last below the waterline.
The Professional Inspection Checklist Before Any Chipping Repair Begins
- Sounding test: Chain drag or hammer tap across the entire affected area to map hollow delaminations
- Carbonation depth test: Phenolphthalein indicator on fresh break surfaces
- Chloride content sampling: Core samples sent to a certified lab if rebar corrosion is present
- Crack mapping: Document all cracks wider than 0.010 inches for epoxy injection assessment
- Rebar cover measurement: Covermeter scan to identify areas with insufficient cover that will re-spall
- Structural classification: Confirm whether the element is post-tensioned, pre-stressed, or conventionally reinforced before any cutting or chipping begins
- Substrate moisture content: Verify moisture levels are within the repair material manufacturer’s acceptable range
Concrete chipping is a manageable problem when you approach it with the right diagnostic framework and the technical discipline to prepare the substrate correctly. Cut corners on the prep, use the wrong material for the climate, or skip the protective coating, and you’ll be back doing the same repair in 18 months. Do it right the first time, and a properly executed chipping repair will outlast the surrounding concrete.