Why Driveway Control Joints Fail Before the Slab Even Cures
Most driveway cracks aren’t structural failures — they’re placement failures. Concrete shrinks as it cures, and that shrinkage generates tensile stress across the slab. When that stress exceeds the concrete’s tensile strength, it cracks. Control joints work by creating a deliberate plane of weakness, a pre-engineered path the crack follows instead of wandering randomly across your driveway surface. But here’s what most homeowners and even some contractors miss: the joint has to be cut at the right time, to the right depth, at the right spacing, and with the right equipment. Miss any one of those variables and you’ve spent money on a process that won’t perform. This guide breaks down every technical factor so you can get it right the first time — or know exactly what to demand from the crew doing the work.
The Shrinkage Mechanics Behind Every Driveway Crack
Freshly poured concrete contains roughly 15–20% more water than the cement chemistry actually needs for hydration. That excess water evaporates during curing, and as it leaves the matrix, the slab contracts. A standard 4-inch residential driveway slab poured on a warm Miami afternoon can shrink by as much as 1/16 inch per 10 linear feet. That sounds minor until you picture a 40-foot driveway trying to pull itself apart by a quarter inch with nowhere to go. The concrete has no choice but to crack — the only question is where. Control joints answer that question before the slab answers it for you.
In South Florida’s climate, thermal expansion compounds the problem. Concrete expands in heat and contracts overnight. Driveways in Miami experience daily thermal cycling that northern slabs simply don’t face at the same intensity. This means your control joint program has to account not just for initial shrinkage but for ongoing movement across the service life of the slab. Joints that are too shallow or spaced too far apart will be overwhelmed within the first few seasons.
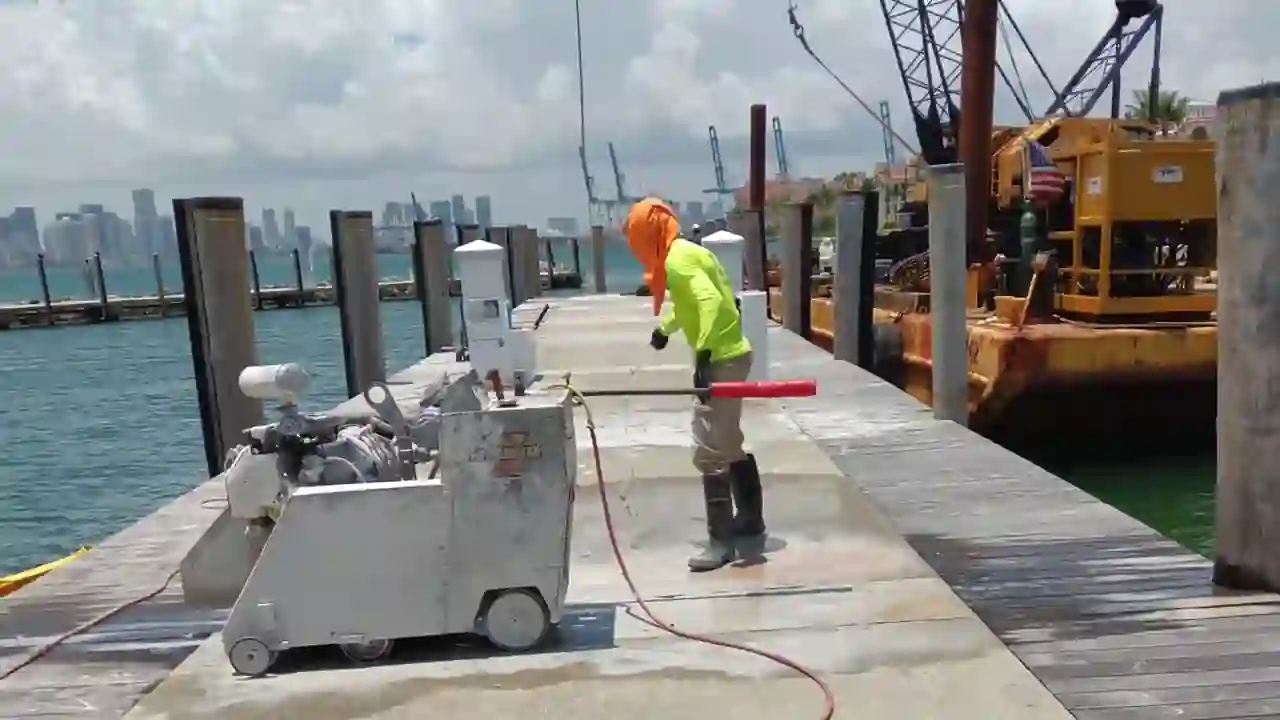
Saw Cutting Timing Windows for Residential Driveway Slabs
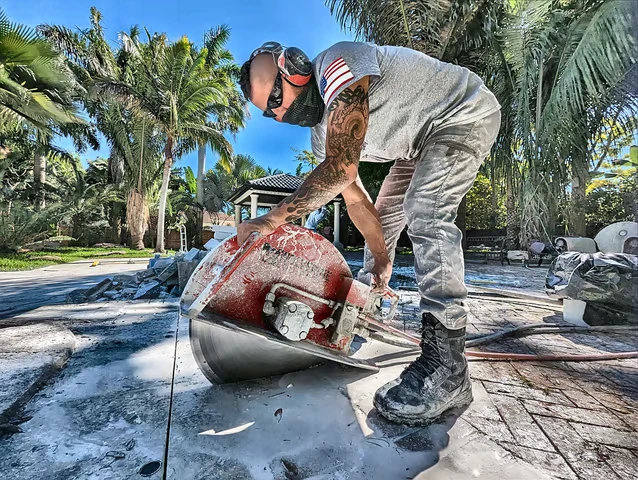
Timing is the single most critical variable in driveway control joint cutting. Cut too early and the saw blade ravels the joint edges, leaving a ragged, aggregate-torn groove that holds water and debris. Cut too late and the concrete has already developed enough tensile strength to crack wherever it wants — your control joint becomes decorative at that point.
The industry standard window for early-entry dry cutting is 1 to 4 hours after finishing, depending on ambient temperature, humidity, wind speed, and the water-cement ratio of the mix. In Miami’s heat, that window compresses fast. On a 90°F day with afternoon sun, you may have as little as 90 minutes before the slab is too hard for early-entry equipment and too structurally developed to accept a crack-directing joint. Wet saw cutting extends the window slightly but introduces slurry management on a residential site.
- Early-entry saw cutting: 1–4 hours post-pour, uses specialized lightweight saws, cuts 1–1.5 inches deep initially
- Conventional wet saw cutting: 4–12 hours post-pour, achieves full depth in a single pass, requires slurry containment
- Hard-cure cutting: After 24 hours, acceptable only when early cutting was missed, higher risk of intermediate cracking
If you’re working with a contractor and they can’t give you a specific cut-time plan tied to the pour schedule and weather forecast, that’s a red flag. Outsourcing this work to professionals with dedicated flatwork crews eliminates the timing guesswork that leads to failed joints.
Calculating Correct Joint Depth for 4-Inch and 6-Inch Driveway Slabs
The ACI 360R guideline specifies that control joints must be cut to a minimum depth of one-quarter of the slab thickness. For a 4-inch residential driveway, that’s 1 inch minimum. For a 6-inch slab — common in Miami driveways designed for RV or heavy vehicle loads — you need at least 1.5 inches. These are minimums, not targets. In practice, cutting to one-third depth (1.33 inches for a 4-inch slab) provides a stronger crack-directing plane and is worth the marginal extra blade wear.
Shallow joints are one of the most common failure modes in residential flatwork. A groove cut to only 3/4 inch on a 4-inch slab leaves too much intact cross-section below the joint. The concrete finds a path of least resistance elsewhere — usually a diagonal crack running from a re-entrant corner or a mid-panel location with a stress concentration. Once that crack forms, no amount of joint sealing on the original cut will help.
Blade selection matters here too. For standard 3,000–4,000 PSI residential mix designs, a segmented diamond blade with a medium-hard bond works well. Harder aggregate mixes common in South Florida’s crushed limestone concrete may require a softer bond blade that releases diamonds faster to maintain cutting efficiency. Using the wrong blade doesn’t just slow the job — it can cause blade deflection that produces a wandering, inconsistent cut depth across the joint length.
Joint Spacing Formulas That Match Miami Driveway Geometry
The standard rule of thumb is that joint spacing in feet should not exceed 2 to 3 times the slab thickness in inches. For a 4-inch slab, that gives you a maximum panel size of 8–12 feet between joints. For a 6-inch slab, 12–18 feet. These are maximum values — in practice, tighter spacing reduces panel size and shrinkage stress per panel.
For a standard two-car driveway measuring 20 feet wide by 40 feet long, a proper joint layout might include:
- Transverse joints every 10 feet along the 40-foot length (3 cuts creating 4 panels)
- A longitudinal joint down the center of the 20-foot width, splitting the driveway into two 10-foot-wide lanes
- Isolation joints at the garage apron and at the public sidewalk connection to allow independent movement
Panel aspect ratio matters as much as raw spacing. Panels that are significantly longer than they are wide — say, 8 feet wide by 16 feet long — develop diagonal tension across the long axis and crack corner-to-corner. Keep your panels as close to square as the driveway geometry allows. This is especially important when cutting around curves, apron flares, or widened entry sections where panel geometry becomes irregular.
Understanding how to select the right cutting method for your specific geometry is covered in depth in our guide on choosing the right concrete cutting method for Miami projects.
Re-Entrant Corners and High-Stress Zones Require Diagonal Relief Cuts
Wherever your driveway geometry creates an interior corner — at a step-down, a planter cutout, or a transition to a different surface — you have a re-entrant corner that concentrates stress dramatically. Standard orthogonal joint grids don’t address these zones. The fix is a diagonal relief cut running at 45 degrees from the interior corner tip, extending at least 18–24 inches into the slab panel. Without this cut, cracking from re-entrant corners is essentially guaranteed regardless of how well the rest of your joint program is executed.
This same principle applies to any utility sleeve, drain box, or anchor bolt penetrating the slab. Concrete wants to crack from the corners of any penetration. Four diagonal relief cuts — one from each corner of a square penetration — redirect that cracking into controlled paths. It’s a detail that separates professional flatwork from amateur pours, and it’s one of the techniques we apply consistently on every job we run.
Sealing Driveway Control Joints After Cutting
An open control joint is a maintenance liability. Water infiltrates, freeze-thaw cycles widen the gap in northern climates (less critical in Miami, but still relevant for structural integrity), and incompressible debris locks the joint closed — preventing the thermal movement the joint was designed to accommodate. In South Florida, joint sealing also prevents root intrusion from aggressive tropical vegetation that can hydraulically wedge joints open over years.
For residential driveways, a self-leveling polyurethane sealant is the professional standard. It bonds to both joint faces, remains flexible across the full temperature range, and can be tooled flush with the slab surface for a clean appearance. Backer rod — a compressible foam rope installed in the joint before sealing — controls sealant depth and prevents three-sided adhesion, which would restrict the joint’s ability to move.
Avoid silicone in driveway control joints. It doesn’t bond well to concrete without primer, it’s difficult to tool cleanly, and it can’t be painted or overlaid if you ever apply a decorative coating. Polyurethane gives you better adhesion, better flexibility, and a longer service life in Miami’s UV-intense environment.
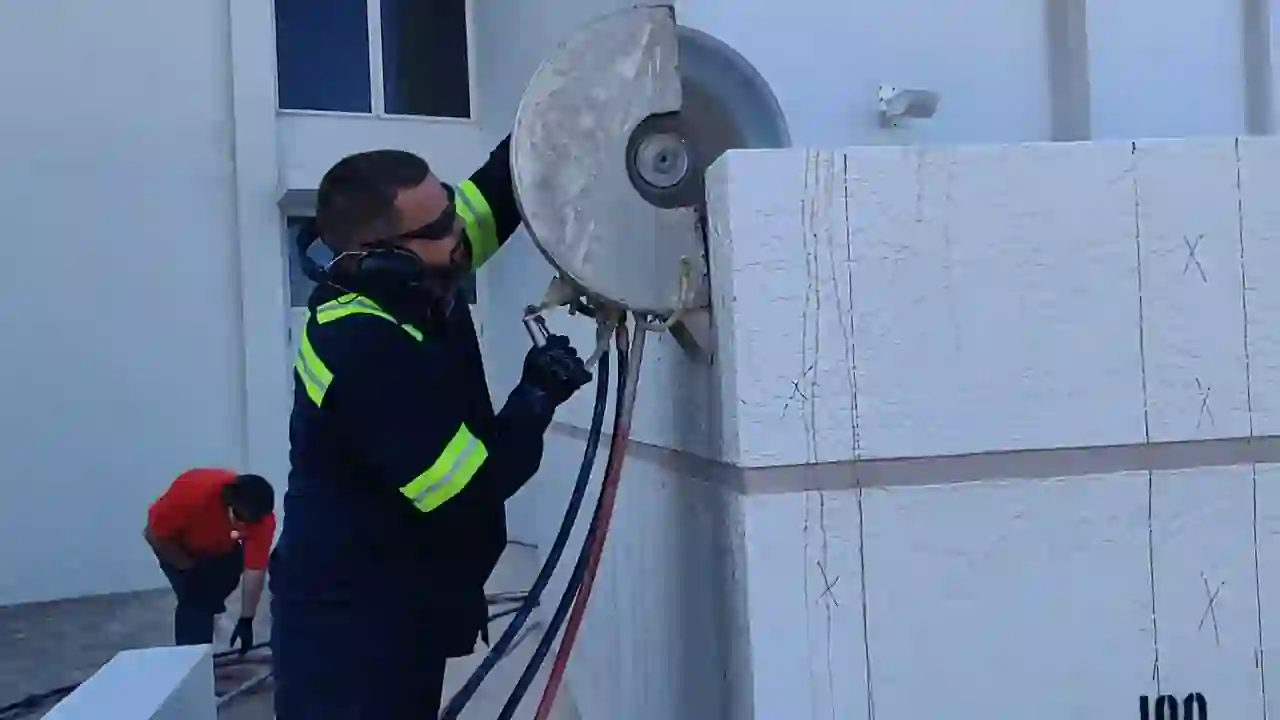
For projects where cutting needs to happen in constrained or complex environments — near walls, at slab edges, or in tight garage apron areas — the techniques used for wall cutting with diamond technology translate directly to precision flatwork cutting in tight quarters.
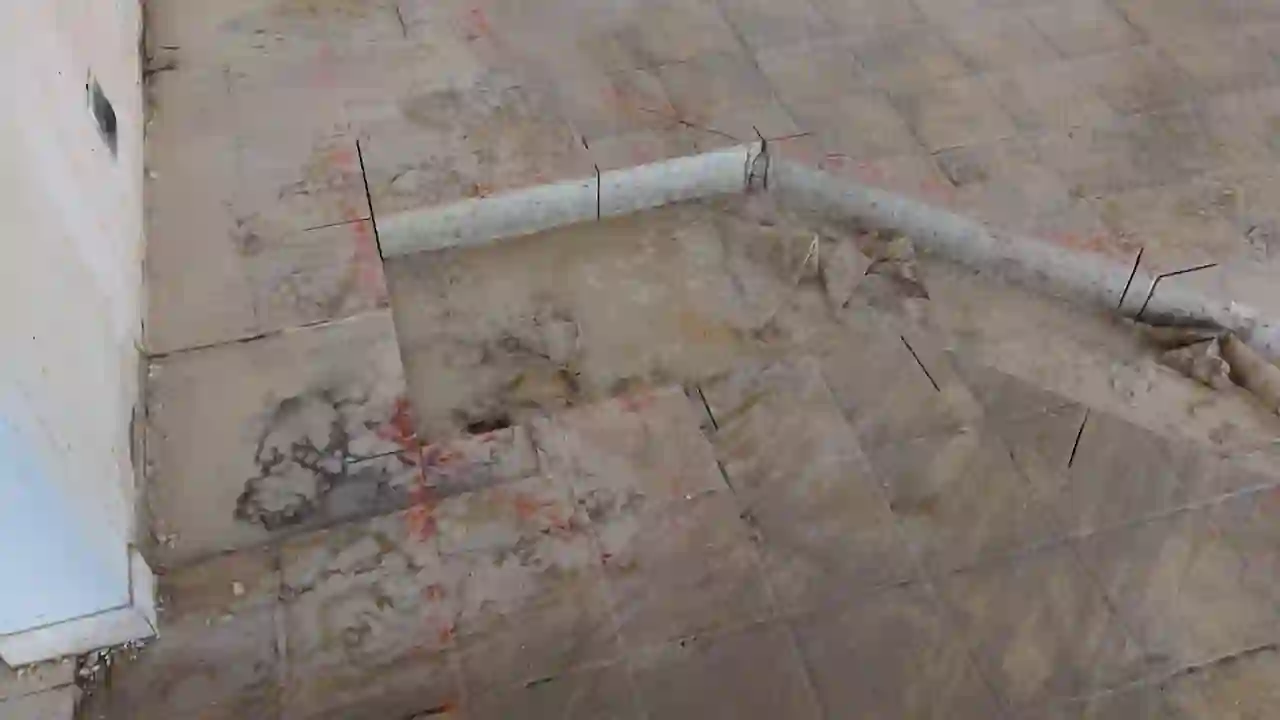
When a Driveway Control Joint Program Has Already Failed
If you’re reading this after cracks have already appeared, the joint program didn’t work — either because joints weren’t cut, were cut too late, or were cut too shallow. At this stage, you have several options depending on crack width and pattern.
- Hairline cracks under 1/8 inch: Rout and seal with a low-viscosity epoxy or polyurethane. The joint still functions as a crack-control feature going forward.
- Cracks 1/8 to 1/4 inch: Rout to create a uniform joint profile, install backer rod, and seal with flexible polyurethane. Monitor for differential vertical displacement (faulting).
- Faulted cracks with vertical displacement: Indicates subbase failure or void development. Slab lifting or full-depth repair is required before any surface treatment makes sense.
- Widespread random cracking with no clear pattern: Likely indicates a joint spacing or timing failure across the entire pour. Evaluate whether overlay systems or full replacement is more cost-effective long-term.
Before committing to any remediation approach on a cracked driveway, review the essential guide to safe demolition practices if partial removal and replacement is on the table. Removing sections of a cracked driveway without understanding the subbase condition underneath often creates more problems than it solves.
Driveway control joints are one of those details that look simple on paper but require genuine technical discipline to execute correctly under field conditions. The timing pressure is real, the depth requirements are non-negotiable, and the spacing math has to account for your specific slab geometry rather than a generic rule of thumb. When these variables come together correctly, a concrete driveway can perform for 30 years or more without a single uncontrolled crack. When they don’t, no amount of sealing or patching recovers the performance you should have had from day one. If you’re planning a new driveway pour or dealing with an existing joint failure in the Miami area, contact our team to discuss a cutting program engineered for your specific site conditions.