Why Chipping a Concrete Slab Is More Technical Than It Looks
Every week, homeowners and general contractors in South Florida start chipping a concrete slab with a rented electric demolition hammer and zero plan — and within twenty minutes they’ve either hit a post-tension tendon, fractured a plumbing stub-out, or created a jagged mess that costs three times more to remediate than the original job. Chipping concrete is a controlled demolition task. It demands the right equipment, a systematic attack sequence, and a clear understanding of what’s embedded inside and below the slab you’re breaking. This guide gives you the full technical picture so you can execute the job correctly the first time.
Pre-Chip Site Investigation — What You Must Know Before the First Strike
Before any chipping begins, you need a complete subsurface profile of the slab. In Miami-Dade and Broward counties, post-tensioned slabs are extremely common in residential construction built after the mid-1980s. Striking a live post-tension tendon with a demolition hammer causes explosive tendon release — a serious safety hazard and a structural emergency. Ground-penetrating radar (GPR) scanning is the industry-standard method to locate rebar grids, PT cables, conduit runs, and embedded plumbing before you chip a single square foot.
Additionally, confirm the slab thickness. Residential slabs in South Florida typically run 4 to 6 inches, but garage aprons, pool decks, and commercial floors can hit 8 to 12 inches. Slab thickness directly determines which chipper class you need and how you’ll stage your depth of attack. Check as-built drawings if available, and always call 811 for underground utility marking before any exterior slab work. For complex projects involving structural slab sections, review the concrete construction service documentation to understand how slab type affects demolition methodology.
Tools Required Based on Slab Class
- Light-duty chipping (tile bed removal, surface scarification): Electric SDS-Max rotary hammer, 2–5 ft-lb impact energy, flat chisel bit
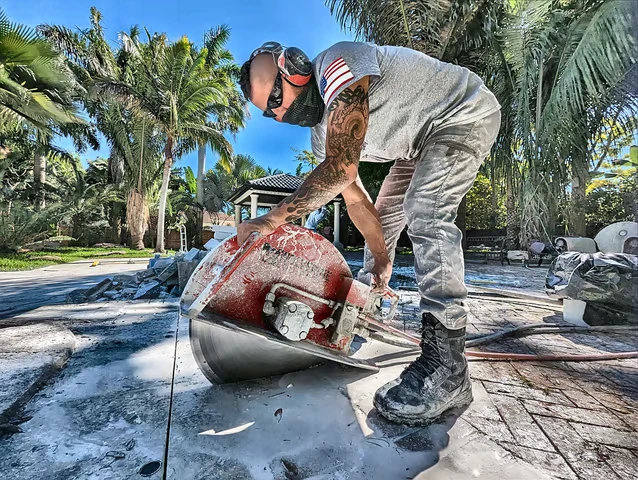
- Medium-duty chipping (4–6″ residential slab sections): Electric or pneumatic demolition hammer, 25–40 ft-lb impact energy, moil point or wide chisel
- Heavy-duty chipping (commercial slabs, 6″+ thickness, reinforced): Hydraulic breaker on mini-excavator or skid steer, 300–700 ft-lb impact class
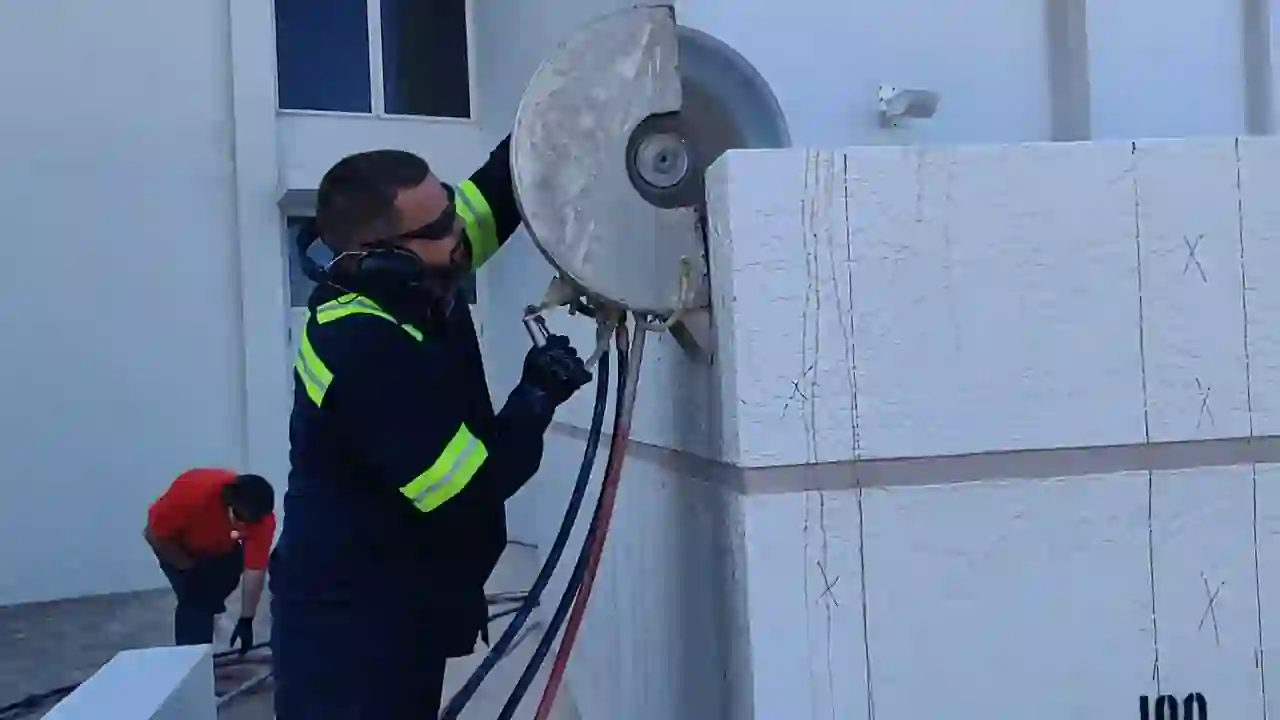
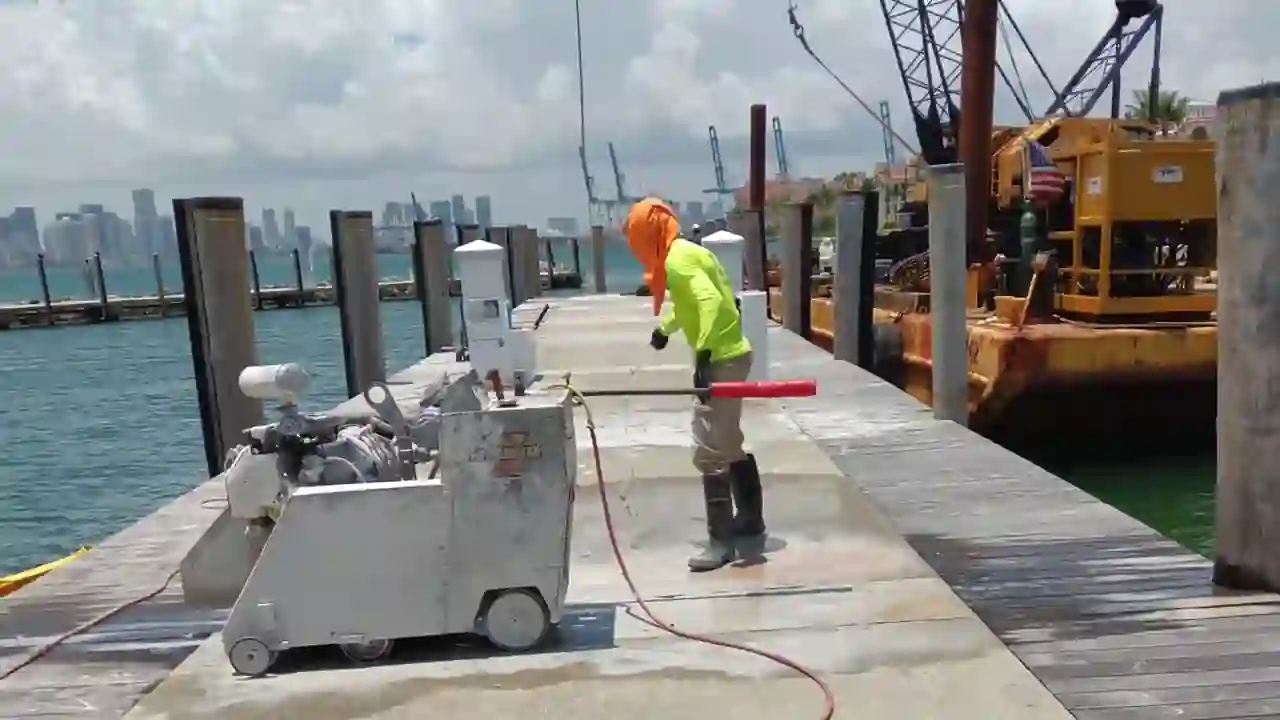
- Precision edge chipping adjacent to walls or fixtures: Cut perimeter first with a diamond blade walk-behind saw, then chip the interior field
- Post-tension slab sections: Always saw-cut to isolate the work zone before any chipping — never chip across tendon lines
The Correct Attack Sequence for Chipping a Concrete Slab in Sections
Experienced concrete demolition crews never just start hammering randomly at a slab surface. They work in a defined sequence that maximizes material fracture efficiency, minimizes vibration transfer to adjacent structures, and keeps debris manageable. Here is the professional sequence used by our crews on residential and commercial slab chipping projects throughout Miami, Fort Lauderdale, and the surrounding region.
Step 1 — Establish Isolation Cuts Around the Perimeter
Use a diamond blade concrete saw to cut the full perimeter of the area you intend to chip. Cut to a depth equal to the full slab thickness. This severs the rebar continuity and isolates your work zone from the surrounding structural slab. Without isolation cuts, chipping energy transmits laterally through the rebar mesh and can crack the slab beyond your intended removal boundary. For straight cuts along walls or near plumbing fixtures, a rail saw system provides the precision needed to cut within a half-inch of a wall face without overcutting or undercutting.
Step 2 — Score the Interior Field in a Grid Pattern
After perimeter isolation, score the interior of your removal zone in a grid pattern with cuts spaced 12 to 18 inches apart. These interior score cuts create natural fracture planes that allow the demolition hammer to break material cleanly along predictable lines rather than sending random cracks propagating across the slab. For a 4-inch slab, score cuts at 2-inch depth are sufficient. For 6-inch or thicker slabs, score to half depth.
Step 3 — Begin Chipping at a Corner or Edge, Not the Center
Always start chipping at a corner of your scored grid, not in the middle of a panel. Corner and edge positions allow broken material to displace outward, reducing the force required per blow and improving fragment size control. Drive the chisel at a 30-to-45-degree angle into the slab face rather than straight down. Angled impact creates a prying wedge effect that lifts and fractures the concrete slab more efficiently than vertical percussion alone.
Step 4 — Work Panel by Panel Toward the Center
Chip each scored panel completely before moving to the next. Remove broken material as you go — working over a pile of debris reduces your footing stability and buries the fracture line you’re targeting. Keep a pry bar on-site to lever up partially fractured sections once the chisel has compromised the slab’s structural integrity. For projects in residential neighborhoods, review the home improvement project guidelines that govern noise ordinances and debris disposal requirements in Miami-Dade County.
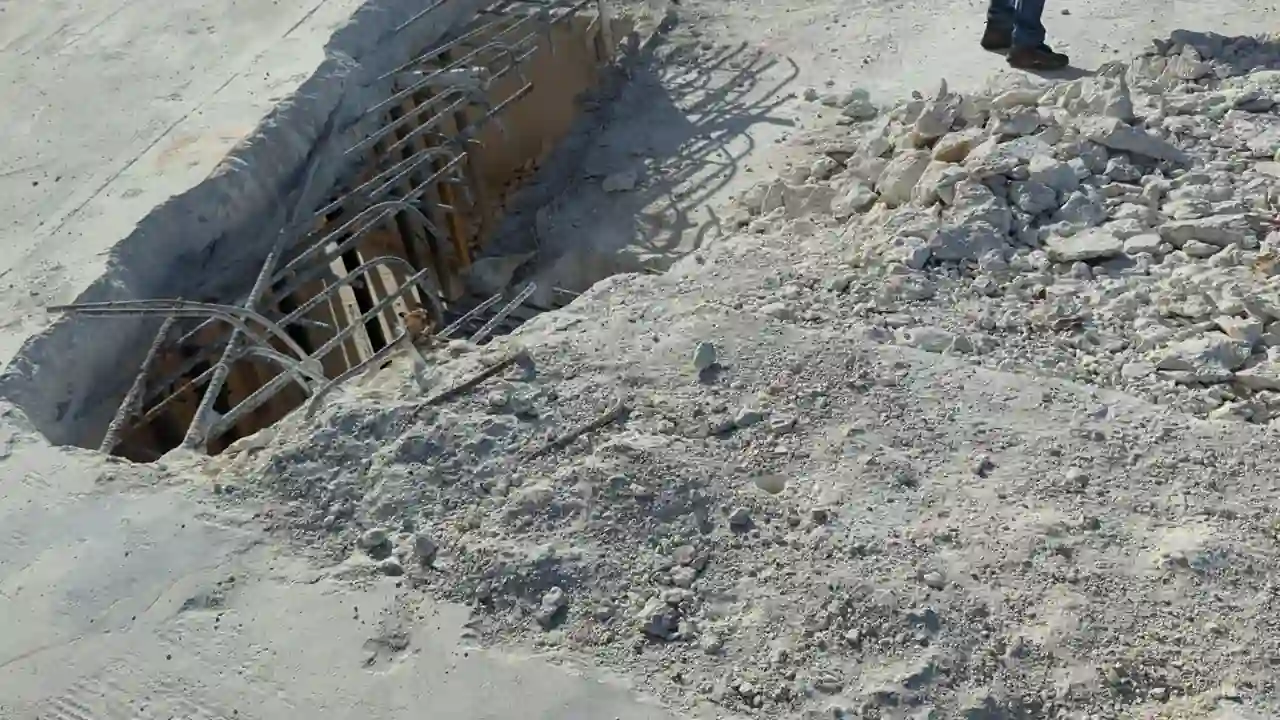
Managing Rebar During Concrete Slab Chipping
Once you’ve chipped through the concrete matrix, you’ll encounter rebar. Do not attempt to chip through rebar with a demolition hammer — you’ll damage the chisel, bog down the machine, and potentially deflect the tool unpredictably. Use an angle grinder with a metal-cutting disc or a reciprocating saw with a bi-metal blade to cut rebar flush after the concrete has been removed from around it. In post-tension zones, rebar cutting must be done only after the tendon stress has been verified as relieved — this is not a DIY determination. Call a structural engineer if you’re unsure of tendon status.
Dust and Silica Exposure Control During Chipping Operations
Chipping concrete generates respirable crystalline silica dust at concentrations that can exceed OSHA’s permissible exposure limit within seconds of starting work without controls in place. OSHA’s Table 1 for demolition hammering requires either continuous water suppression at the chisel point or a HEPA-filtered vacuum shroud attached directly to the demolition hammer. In enclosed spaces — interior slabs, garages, commercial interiors — a combination of both water suppression and local exhaust ventilation is required. Full-face respirators rated minimum N95, and ideally P100, must be worn throughout the operation. This is non-negotiable on any professional job site.
Chipping Concrete Slab Near Plumbing Rough-Ins and Drain Lines
In South Florida bathroom and kitchen remodels, chipping a concrete slab to access or relocate plumbing is one of the most common residential concrete demolition tasks. The critical rule here is to transition from a demolition hammer to hand tools — cold chisel and 3-pound hand maul — within 6 inches of any known pipe location. GPR scanning will give you a centerline location, but pipe positions can shift during original construction. The final 6-inch approach must be done by hand to avoid puncturing PVC drain lines or copper supply lines. Our Oakland Park concrete service crews handle dozens of these bathroom slab openings monthly and the hand-finish approach around plumbing is standard operating procedure on every one.
Disposal and Haul-Out Planning for Chipped Concrete
Chipped concrete is classified as clean fill in most Florida counties and can be legally disposed of at construction and demolition debris facilities. A 10×10-foot section of 4-inch residential slab generates approximately 1,200 to 1,500 pounds of broken concrete. Plan your haul-out accordingly — most standard pickup trucks can handle 1,000 pounds per load safely, meaning a modest bathroom slab opening will require multiple trips or a small dumpster. Concrete recycling facilities in Miami-Dade accept broken slab material and crush it into recycled aggregate, which is an environmentally responsible disposal route. Check out our project video library to see real-world slab chipping and haul-out operations on Miami residential jobs.
When to Call a Professional Concrete Chipping Crew Instead of DIY
There are five conditions under which you should stop planning a DIY approach and call a licensed concrete cutting and demolition contractor immediately. First, any slab confirmed or suspected to be post-tensioned. Second, any slab where GPR scanning reveals conduit or plumbing within 12 inches of your work zone. Third, any slab thicker than 6 inches with heavy rebar reinforcement. Fourth, any interior slab chipping in an occupied building where dust and vibration control require professional-grade suppression systems. Fifth, any slab adjacent to a load-bearing wall, column, or foundation element where vibration transmission poses a structural risk. In these scenarios, the cost of professional concrete chipping is always lower than the cost of the damage that results from proceeding without the proper equipment and expertise.
Concrete Cutting Miami, LLC operates across Miami-Dade, Broward, and Palm Beach counties with a full fleet of GPR scanning equipment, hydraulic breakers, diamond saw systems, and HEPA dust suppression rigs. If your slab chipping project falls into any of the high-risk categories above, contact our team for a site assessment before work begins. Precision, safety, and structural integrity are the baseline — not the exception.