Filling in a pool is a engineering and regulatory process — not a dump-truck delivery
When Miami homeowners think about filling in a pool, the mental image is often a dump truck backing up to the pool and dumping dirt until it is full. The reality is more involved, more regulated, and more expensive — and skipping the steps that make it so is how you create a sinking depression in your backyard that the next heavy rain turns into a pond. Filling in a pool correctly means partially demolishing the pool shell to allow drainage, selecting the right fill material, compacting it in lifts, and finishing with a grade that directs water away from your house. None of this is optional in Miami-Dade County, where the water table sits just a few feet below the surface and poorly compacted fill settles visibly within the first rainy season.
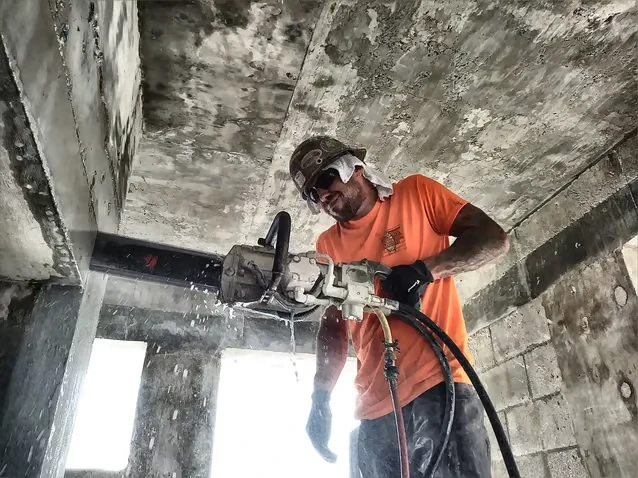
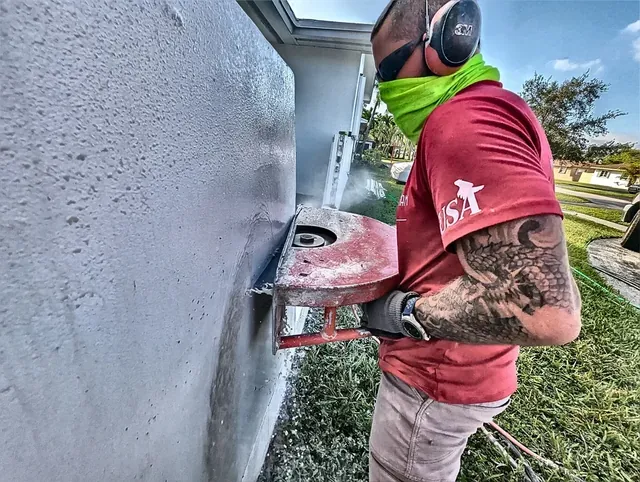
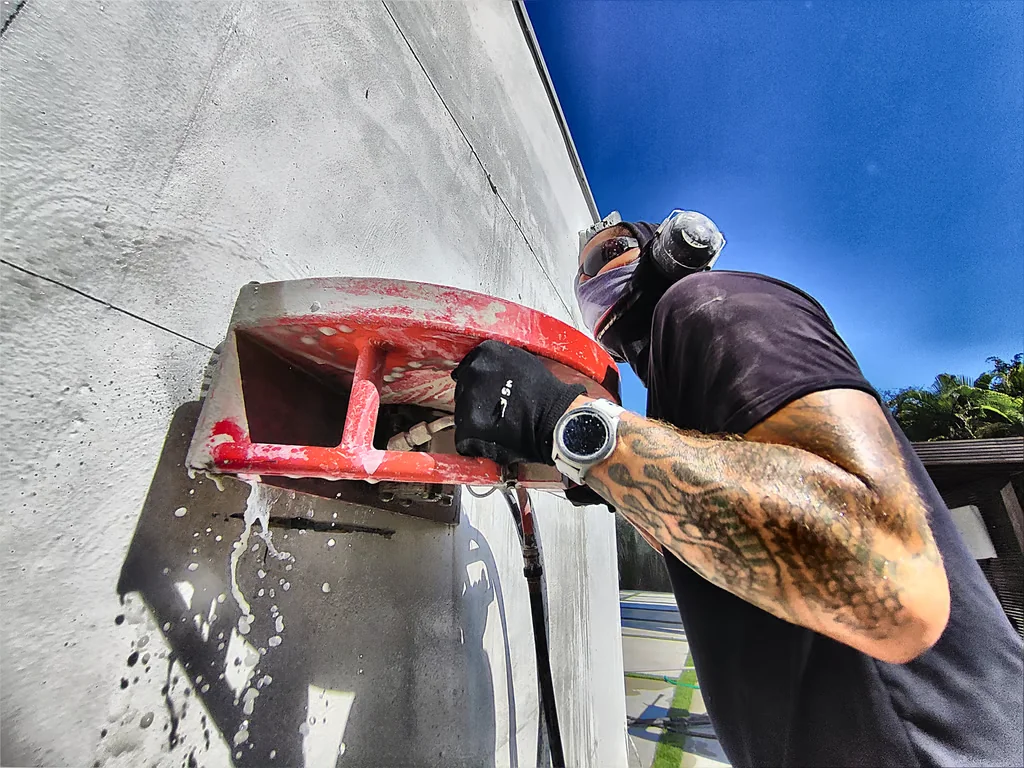
We handle concrete cutting and demolition as part of pool removal projects throughout Miami. The pool shell demolition — breaking the upper walls and puncturing the floor — is one step in the process. The fill, compaction, drainage, and permit compliance are the steps that determine whether the filled pool area becomes usable yard space or a permanent soft spot that everyone steps around. Filling in a pool correctly is a construction project. Filling it incorrectly is a landscaping problem that gets worse every year.
The pool filling process — step by step
Step 1: Permitting
Before any material goes into the pool, the project needs a permit from the local building department. The permit application typically requires a site plan, a description of the demolition and fill method, and the specification for the fill material. Your contractor should handle the permit — a contractor who asks you to pull the permit may not be licensed in your municipality.
Step 2: Pool shell preparation
The pool cannot simply be filled with the intact shell in place. The floor must be broken to allow drainage — typically by punching multiple holes through the concrete with a hydraulic breaker. The upper walls are demolished to a depth specified by code — typically 2 to 4 feet below finished grade. The broken wall sections can remain in the excavation. The shell preparation prevents water from collecting in the pool shell after it is filled (the floor holes drain it) and ensures that the fill material at grade level bears on compacted fill, not on buried concrete walls.
Step 3: Fill material selection
The fill material matters. Clean fill dirt — soil free of organic matter, debris, and large rocks — is standard. Organic material decomposes over time, creating voids that cause settlement. Construction debris is prohibited as fill in most municipalities. Sand or sandy fill is common in Miami because it compacts well and drains freely — important in a high-water-table environment.
Step 4: Compaction in lifts
This is the step that determines whether the filled area stays flat. Fill is placed in lifts — typically 12 inches at a time — and each lift is mechanically compacted before the next lift is placed. The compaction equipment depends on the access: a walk-behind vibratory plate compactor for backyard access, a ride-on roller for large areas with equipment access. Each lift is compacted to a specified density, typically 95% of standard Proctor or better.
Compaction cannot be done after all the fill is in place. A compactor only affects the top 12 to 18 inches of material. If 6 feet of fill is placed without compaction and then the top 12 inches is compacted, the bottom 5 feet will settle. The fill must be compacted in lifts from the bottom up.
Step 5: Final grading and drainage
The final grade must slope away from the house and any adjacent structures. In Miami’s flat terrain, achieving positive drainage requires careful grading — the filled area should drain to the yard or to a drainage system, not toward the foundation. The final grade should also match the surrounding yard elevation to create a seamless transition.
What filling in a pool costs in Miami
The cost of filling in a pool depends on pool size, access for equipment, fill material costs, and whether compaction testing is performed. A small residential pool with good access and partial demolition is on the lower end of the cost spectrum. A large pool with limited backyard access that requires hand-compaction or small equipment adds cost. The fill material cost per truckload is relatively modest, but the number of truckloads adds up — a typical residential pool requires 8 to 15 truckloads of fill.
The cost of doing it wrong — no shell preparation, no compaction, random fill material — is the cost of doing it again. Poorly filled pools settle, create drainage problems, and must be excavated and re-filled. The cost of a proper fill is an investment in usable yard space that does not become a problem. Pool demolition services handle the complete fill process, including shell demolition, fill placement, compaction, and grading.
Common mistakes when filling in a pool
- Skipping shell preparation: Filling an intact pool shell creates an underground water tank. The concrete shell holds water, and without floor punctures, the fill becomes saturated and can heave or settle unpredictably.
- Using the wrong fill material: Fill with organic content decomposes. Fill with large debris creates voids. Fill with expansive clay (uncommon in Miami but present in some imported fill) swells when wet and shrinks when dry.
- No compaction: Simply dumping fill into the pool and leveling the top guarantees settlement. The fill will compact naturally over time, and that natural compaction will be uneven.
- No permit: An unpermitted pool fill is a disclosure problem when selling the property and a potential code enforcement issue. In Miami-Dade, pools are on the property record, and their removal should be documented.
- No drainage plan: The filled area must drain. If the final grade creates a low spot, water pools there, and the saturated fill settles faster than the surrounding area, making the low spot worse.
Questions to ask before filling in a pool
- “What fill material are you using and why?” The answer should be clean fill or sand, not a vague “dirt.”
- “How are you compacting the fill?” They should describe lift thickness and compaction method. “We dump it and level it” is the wrong answer.
- “Will I get compaction test results?” For full pool fills where the area will be used for anything beyond lawn, compaction testing provides documentation that the fill was done correctly.
- “How do you handle drainage?” The contractor should describe how the final grade will direct water away from structures.
- “Do you handle the permit?” The contractor should. Contact a Miami pool removal specialist who handles the entire process from permit to final grade.
Filling in a pool is a permanent modification to your property. The fill material, the compaction, and the drainage will be there long after you sell the house. Do it correctly — with shell preparation, engineered fill, compaction in lifts, and proper grading — and the pool becomes a memory and the space becomes usable yard. Do it with shortcuts, and the pool becomes a recurring problem that announces itself every time the yard develops a new low spot after a Miami thunderstorm.