In construction and renovation, cutting and removing parts of a wall is a task that requires precision and skill. However, the job doesn’t end with the removal of the wall section. Cleaning the edges of the cut wall is crucial for ensuring structural integrity, aesthetic appeal, and the success of subsequent building steps. In this detailed guide, we’ll cover the best practices and techniques for cleaning the edges of a wall after cutting and removing a section, ensuring a professional finish every time.
Introduction to Wall Cutting and Removal
Understanding the Basics
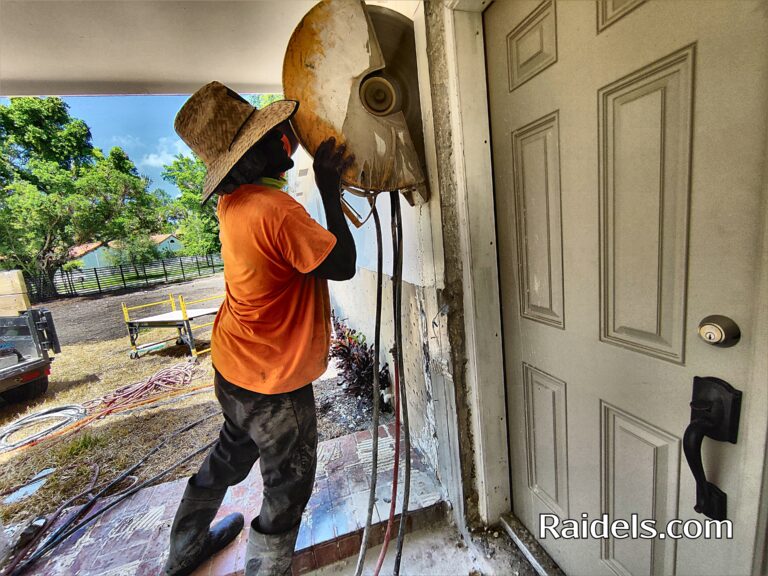
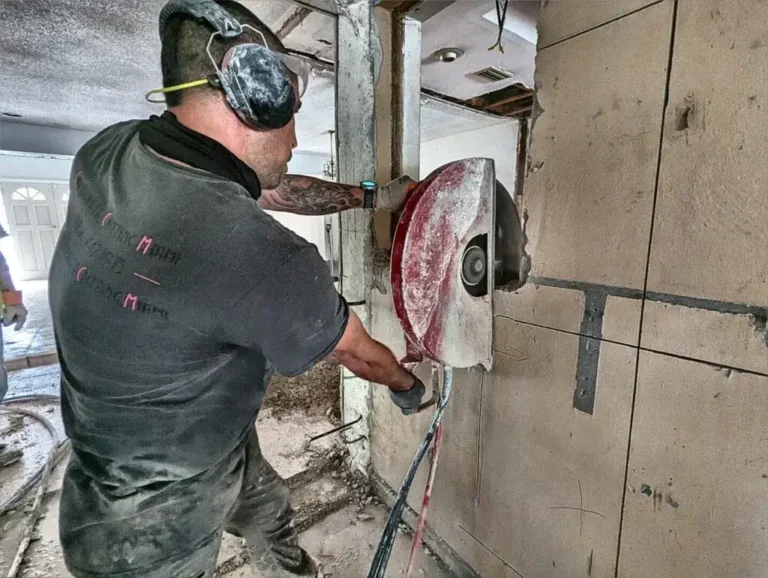
Wall cutting and removal is a common task in renovation and remodeling projects. It involves cutting through the wall material, which could be drywall, brick, concrete, or another material, and then removing the cut section. This process is often necessary to create doorways, windows, or to remove damaged sections. For an overview of the process, Concrete Cutting 101: Essential Tools and Techniques Revealed provides valuable insights.
Preparing for the Task
Before cutting, it’s important to prepare by identifying and marking the area to be cut. This ensures precision and minimizes the risk of damaging surrounding areas. It’s also crucial to consider safety measures, as detailed in Safety Measures in Concrete Cutting.
Step-by-Step Guide to Cleaning Cut Wall Edges
1. Assessing the Cut Area
Once the wall section is removed, assess the cut edges. Look for irregularities, protruding materials, or uneven surfaces. This initial assessment will guide the cleaning process.
2. Removing Debris
Start by removing loose debris and dust from the cut edges. A vacuum cleaner or a brush can be effective for this. For larger or tougher debris, tools like chisels or hammers may be necessary. Understanding the Common Mistakes to Avoid When Concrete Cutting can help in preventing debris-related issues.
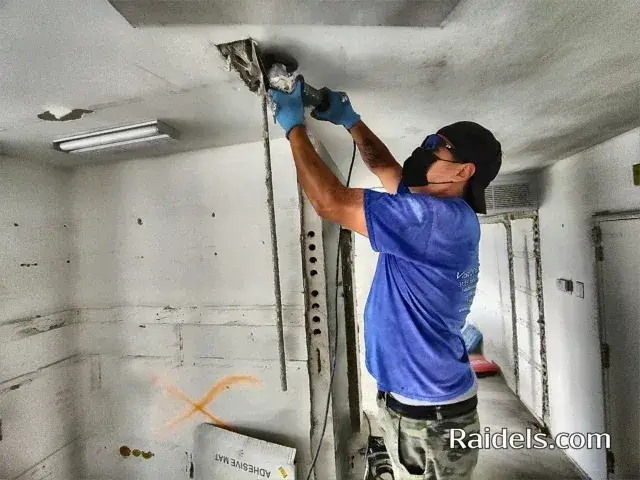
3. Smoothing Rough Edges
Using a grinder or sandpaper, smooth out any rough or jagged edges. This step is crucial for ensuring a clean, professional finish. The article The Mighty Blade: Unveiling the Secrets of Effective Concrete Cutting offers tips on achieving smooth cuts.
4. Filling Gaps and Cracks
If there are any gaps or cracks along the cut edges, fill them with an appropriate filler or sealant. This step is not only aesthetic but also helps in maintaining the wall’s structural integrity.
5. Final Cleaning and Inspection
After filling and smoothing, clean the area again to remove any residual dust or debris. Inspect the edges to ensure they are ready for the next steps, such as framing or finishing.
Best Practices and Tips
Using the Right Tools
Choosing the right tools for the job is essential. From cutting tools to cleaning equipment, each plays a vital role in the process. Revolutionize Your Cutting Experience with the Evolution R230DCT Concrete Saw discusses the importance of using advanced tools.
Safety First
Always prioritize safety when cutting and cleaning wall edges. Wear protective gear and follow safety guidelines to prevent accidents.
Consistency in Technique
Maintain consistency in your technique throughout the process. This ensures uniformity in the finish and prevents damage to surrounding areas.
Cleaning the edges of a cut and removed wall section is as important as the cutting itself. By following these steps and best practices, you can achieve clean, smooth edges that are ready for the next phase of your project.
Share Your Experience
We invite you to share your experiences and tips on wall cutting and edge cleaning. Your insights can help others achieve professional results in their projects.